iConfig Mobile App for Android
| iConfig-MN-EN |
AUG-2020 |

iConfig - Mobile Application User Manual
1. Functions Change Log
| Release Date | Version |
Requires Android
|
Functions Change
|
| MAR-2018 | 1.0.3 |
4.0 and up |
- Fix bug stop config device. |
2. Install iConfig mobile app
2.1 Get the app
|
To find the App manually, navigate to the Google Play Store |
|
|
|
 |
|
Or you can use the QR code as shown below to enter the iConfig application download, then select Install to begin the download.
|
|
|
QR CODE
|
|


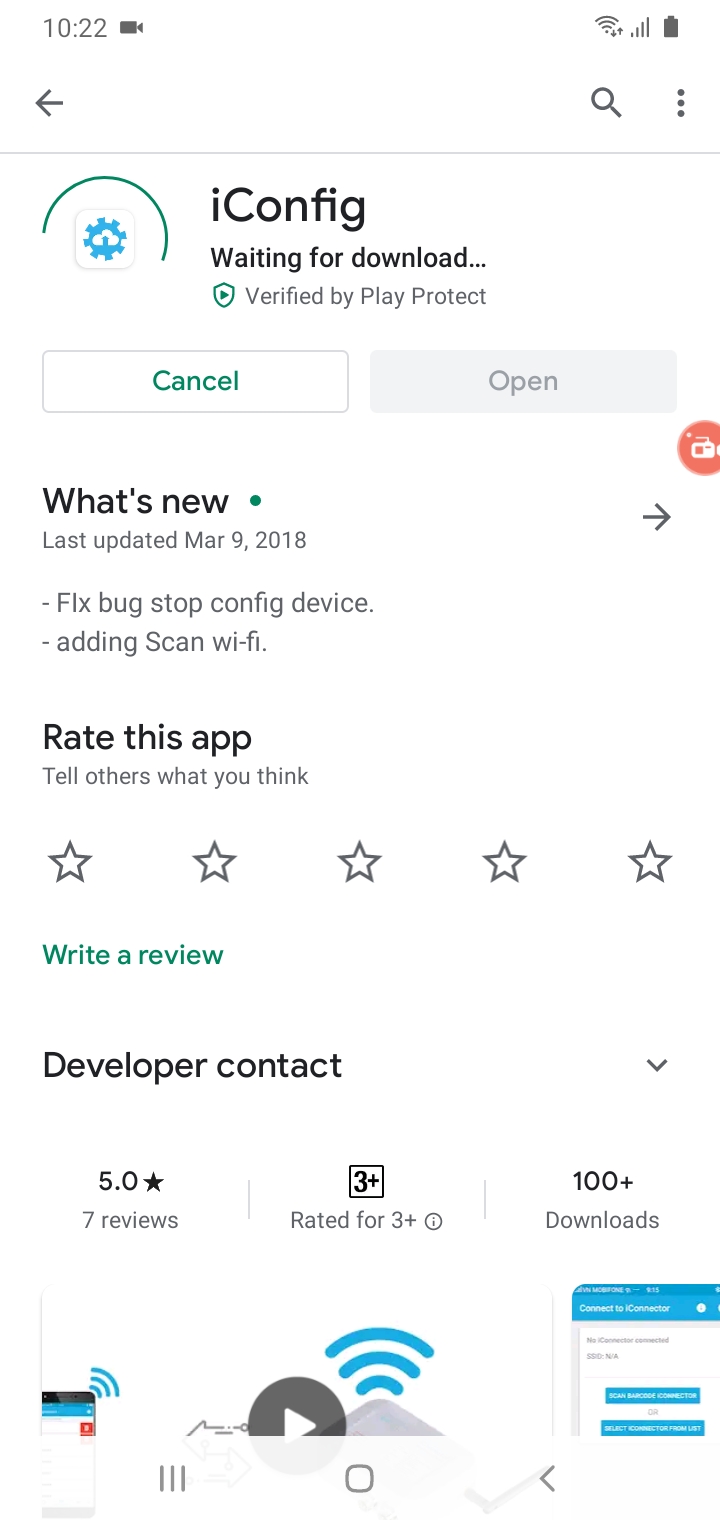
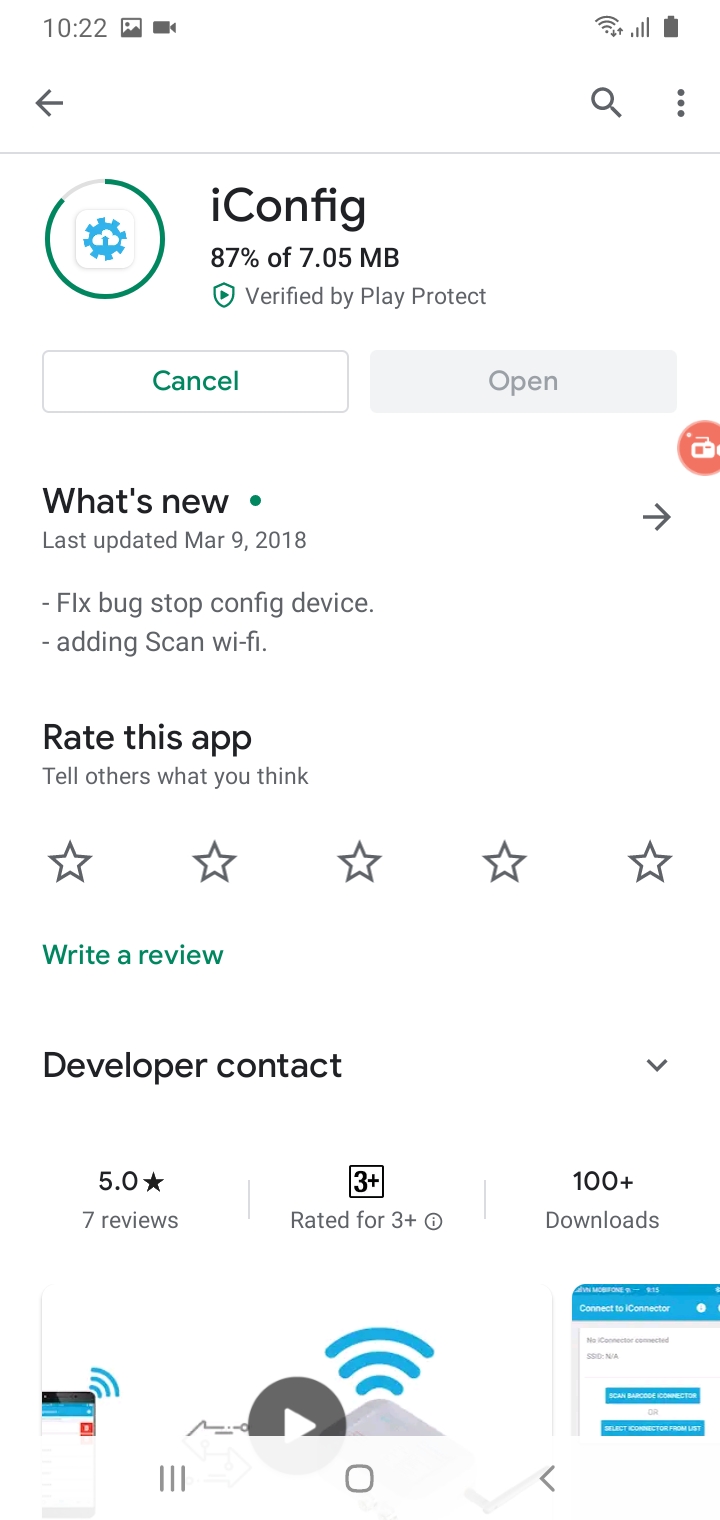
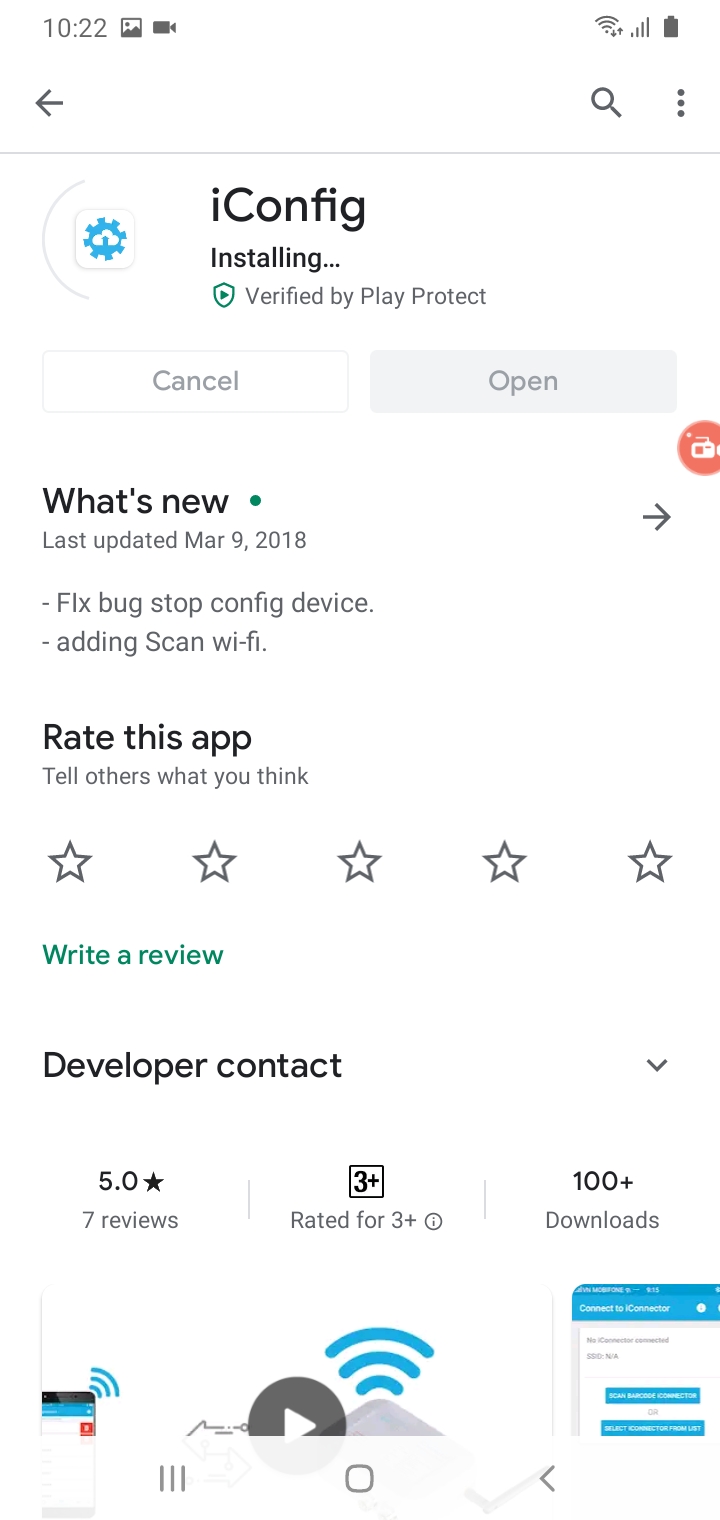
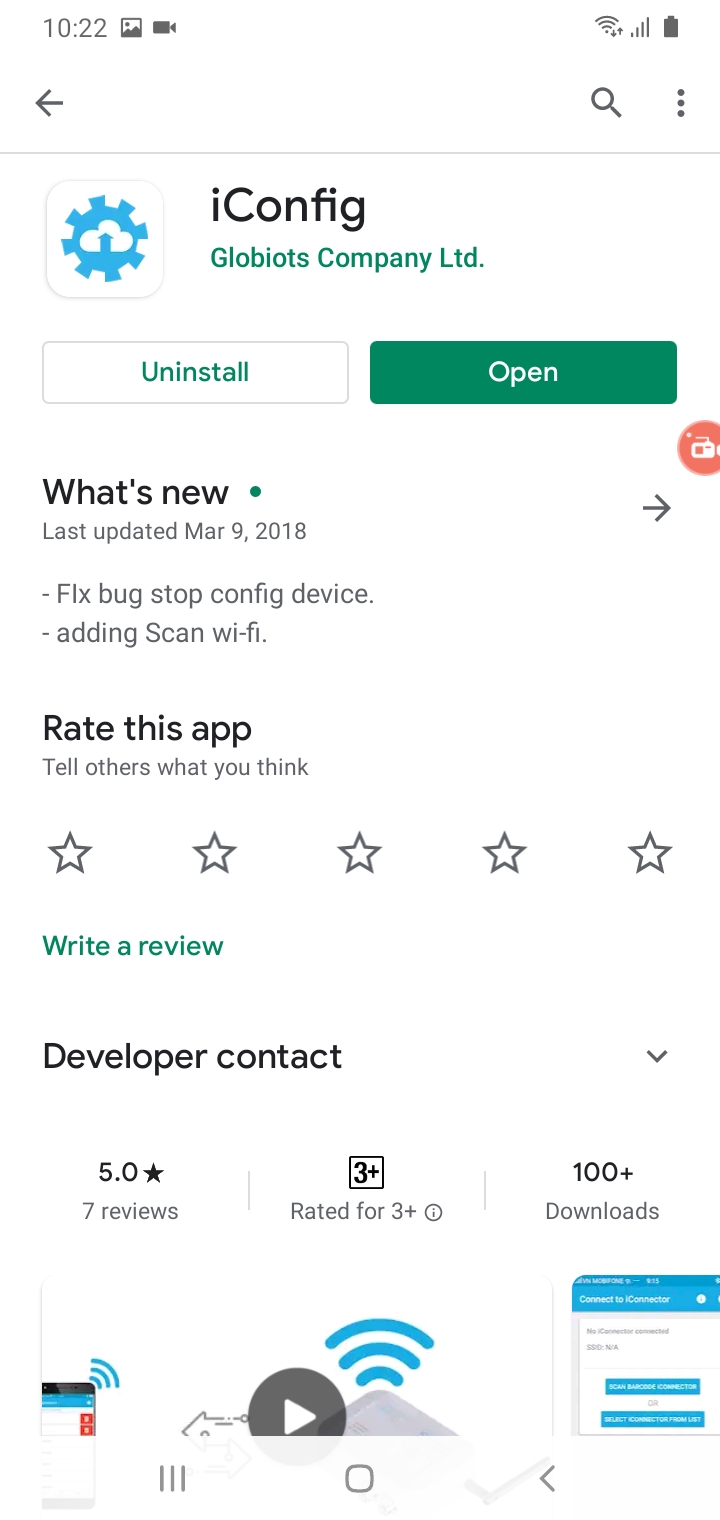
2.2 Install apps
|
After selecting Install, please wait while the iConfig Mobile App is downloaded and installed. Then select Open to run the application. |
|
 |
 |
 |
 |
2.3 Main Screen

3. Wifi Configuration
3.1 Connected to iConnector Wifi
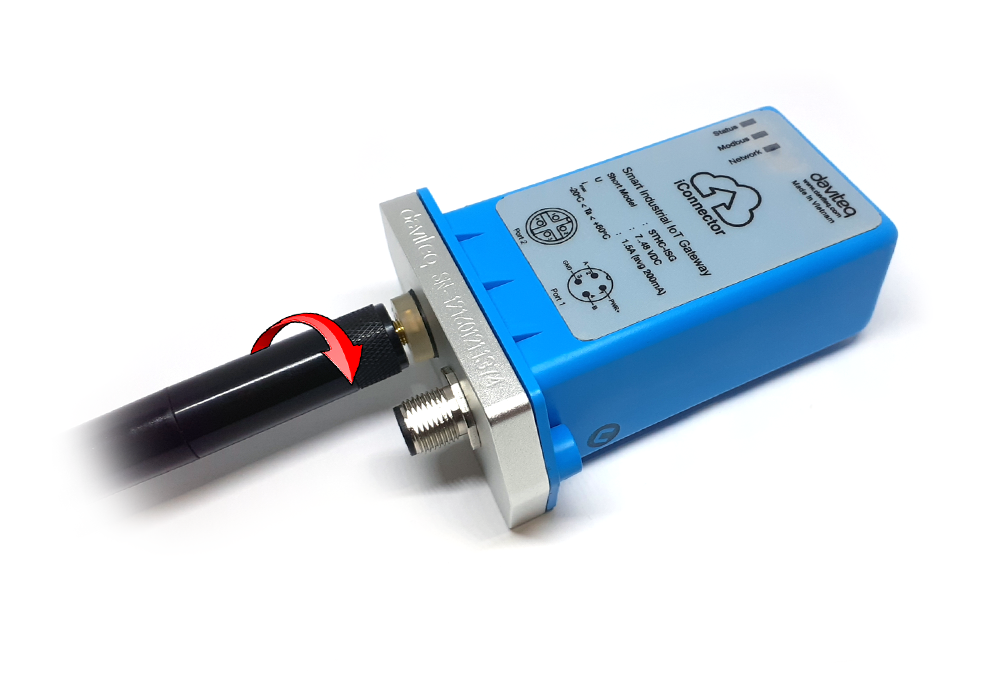
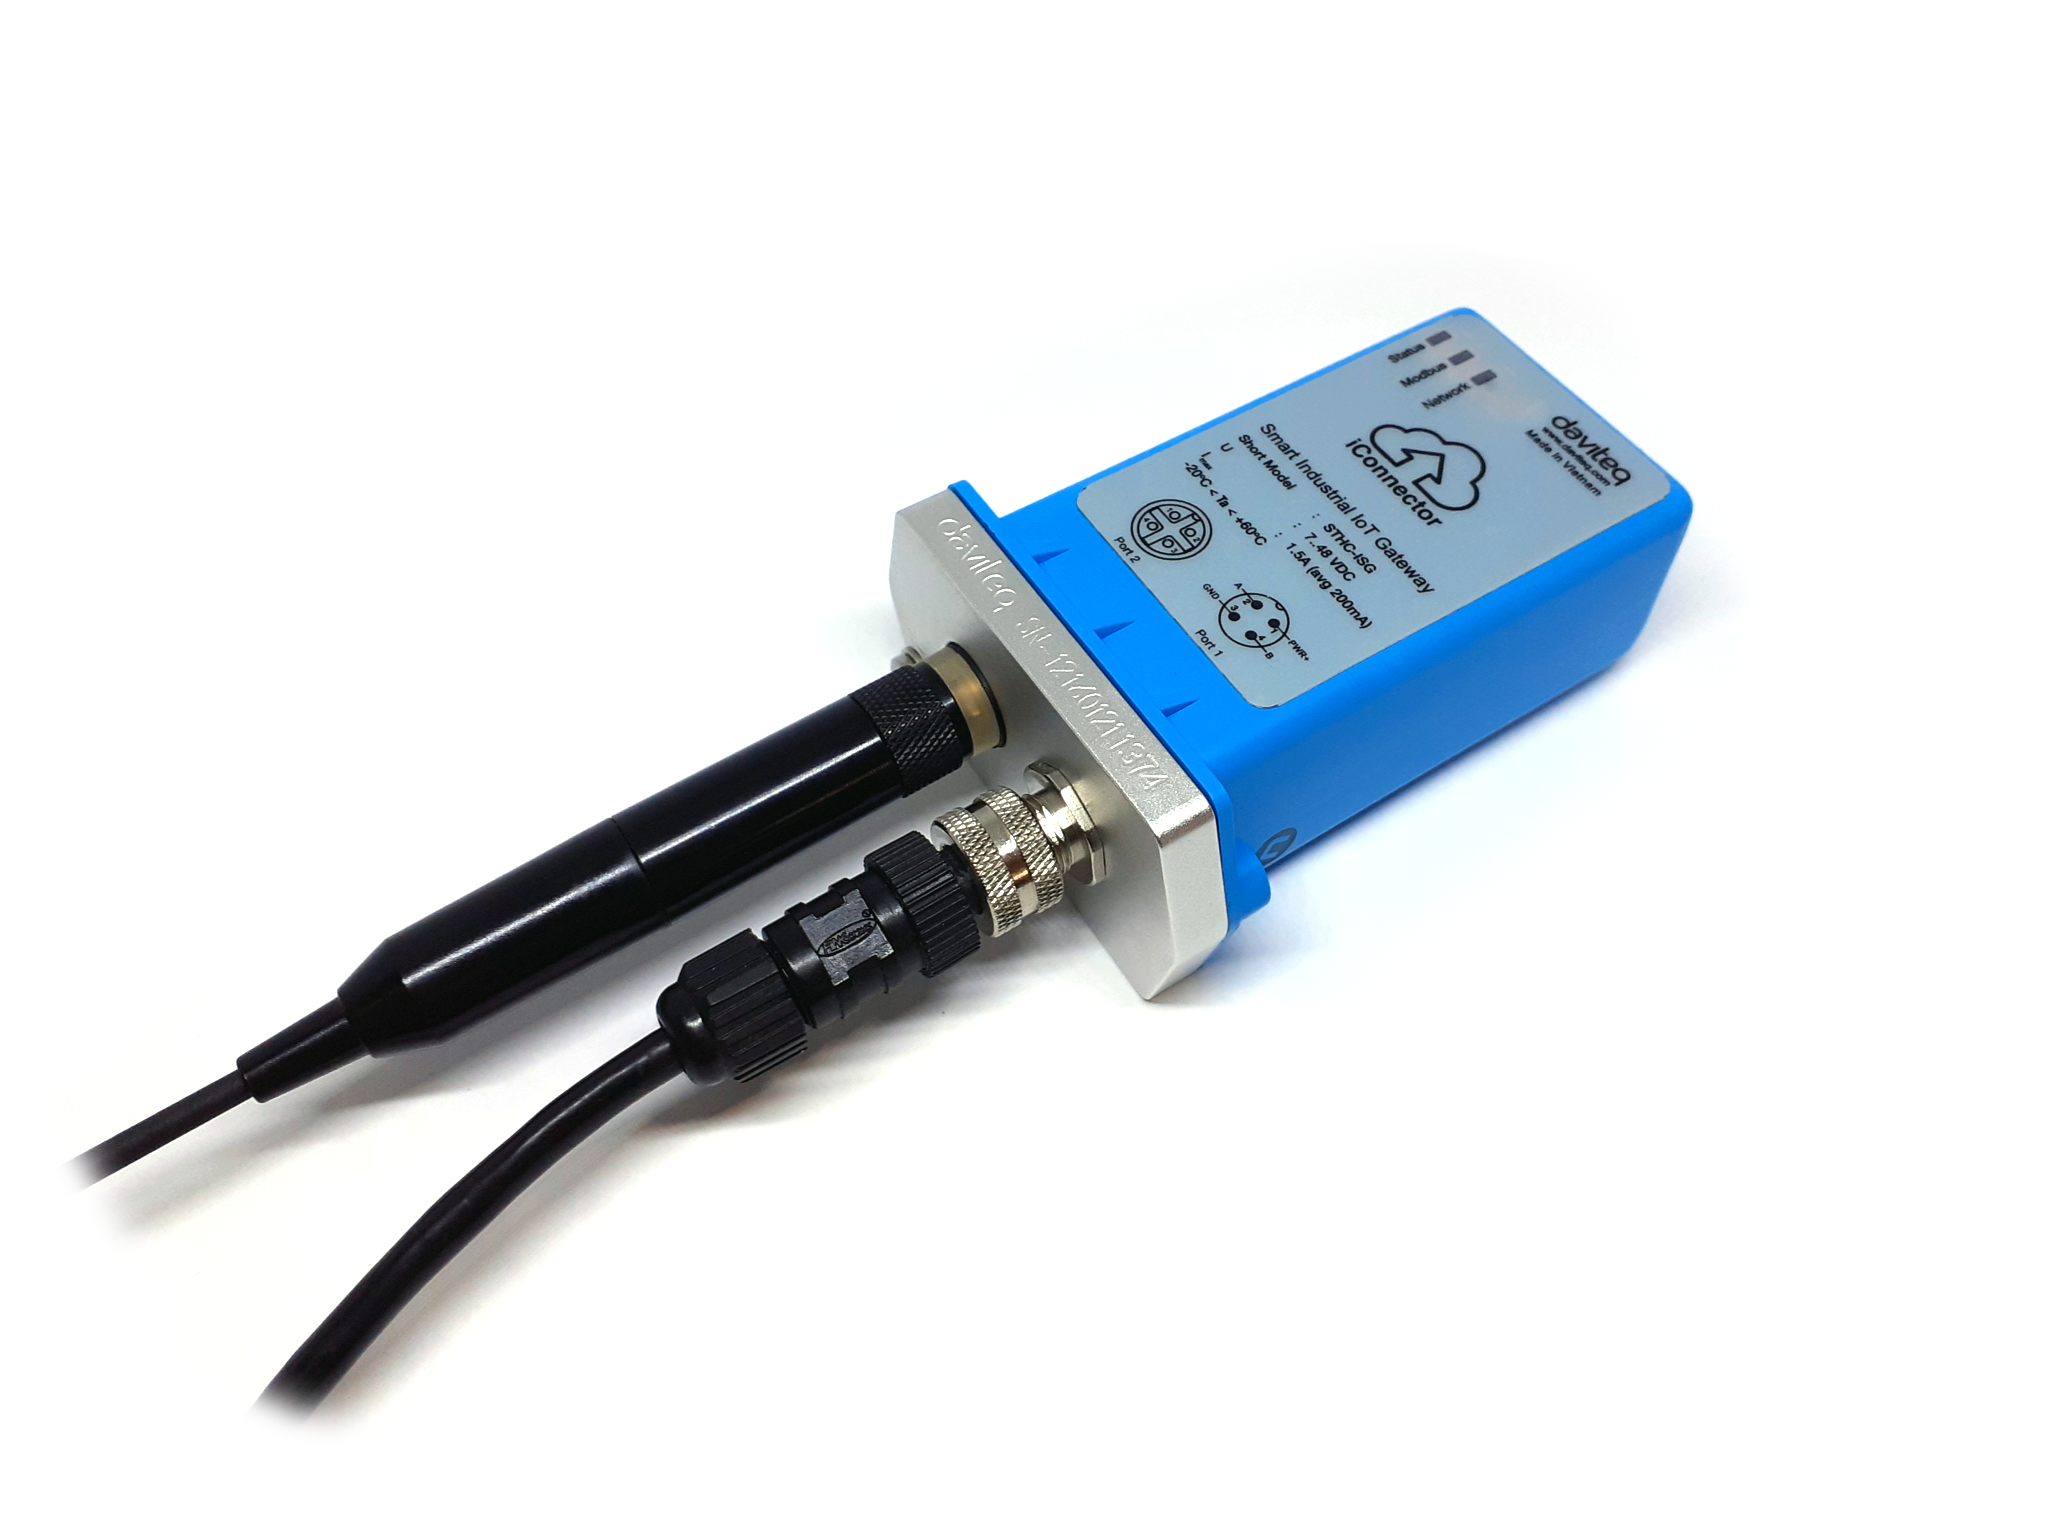
Step 1: Insert antenna into iConnector Wifi and power the iConnector Wifi via M12 Connector.
 |
 |
After powering iConnector Wifi, the led of Status and Network will blink alternately. That means iConnector Wifi is in access point mode.
NOTE: After supplying power the iConnector via M12 connector, only configure using the iConfig app within the first 5 minutes.
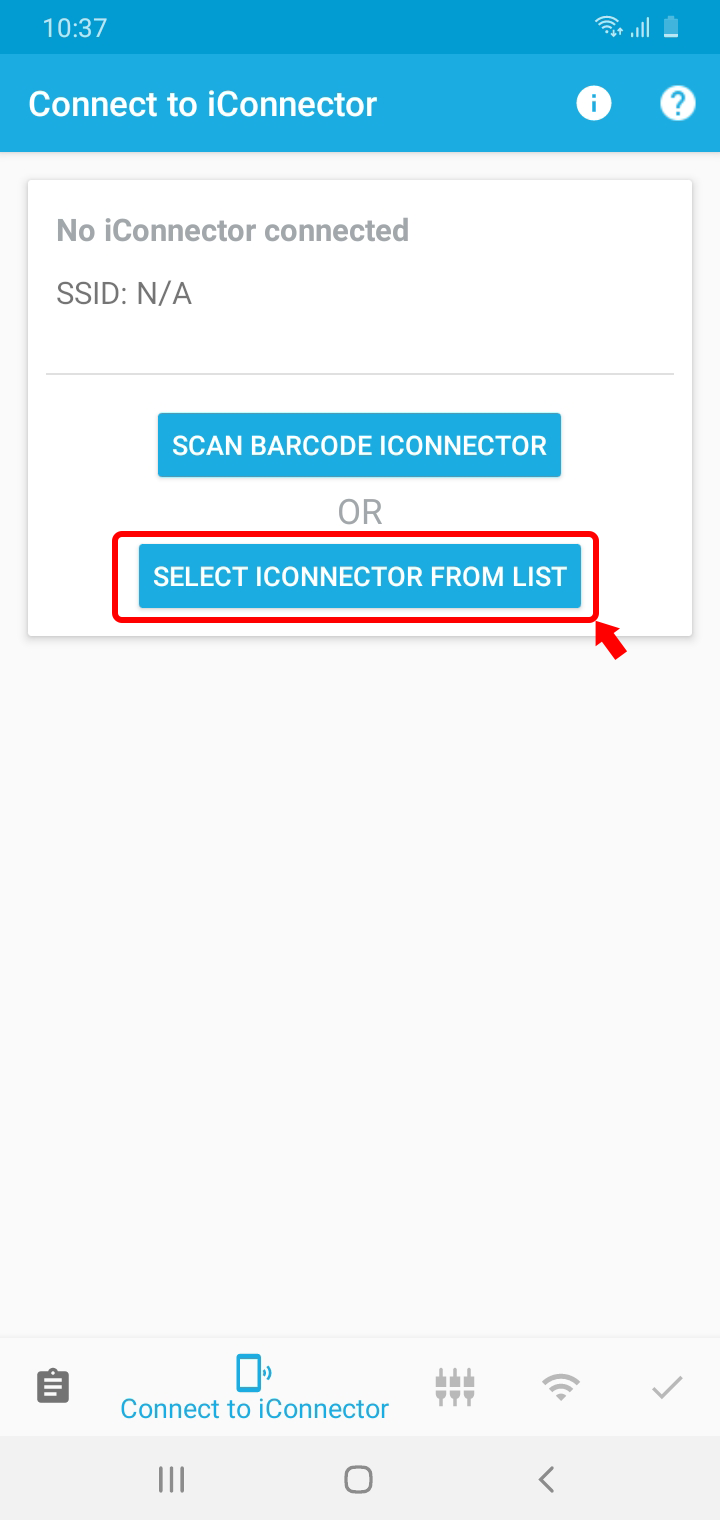
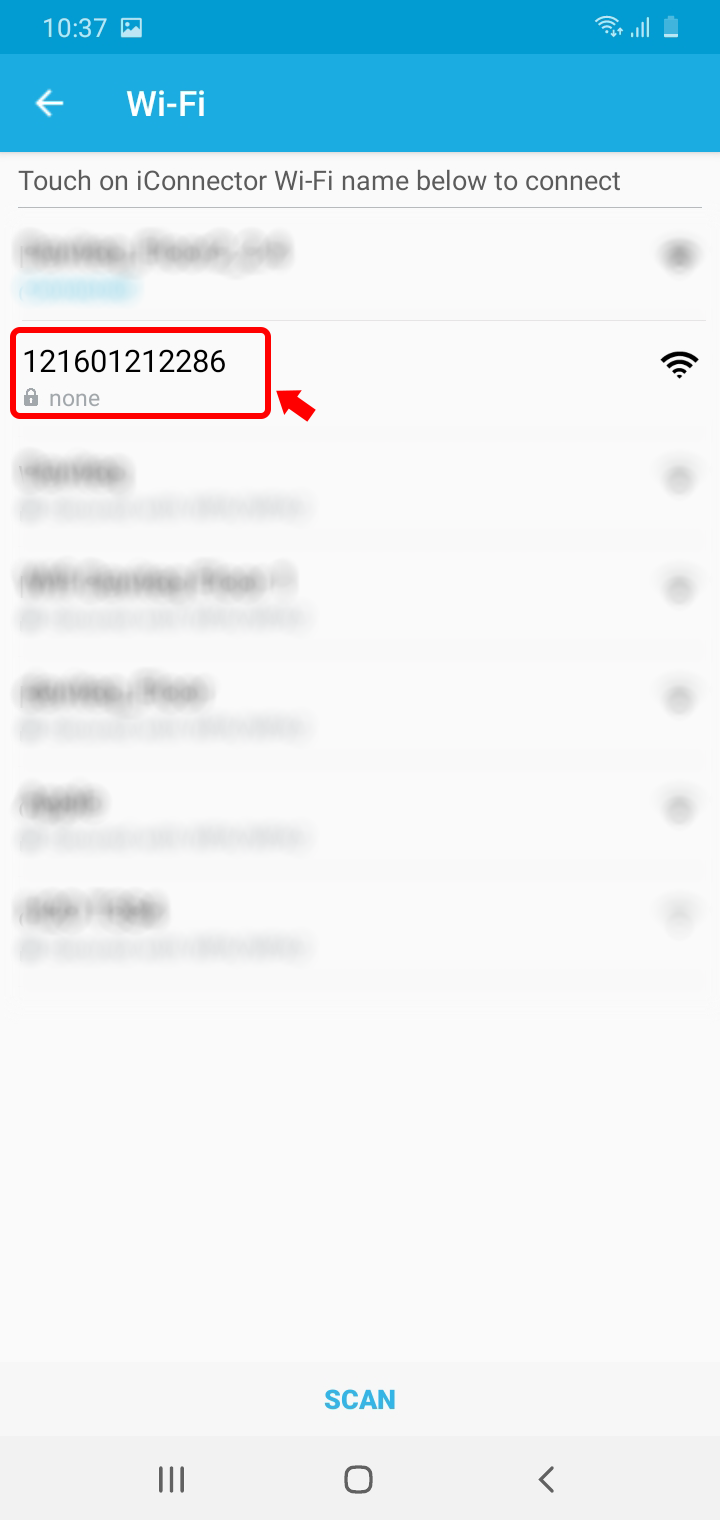
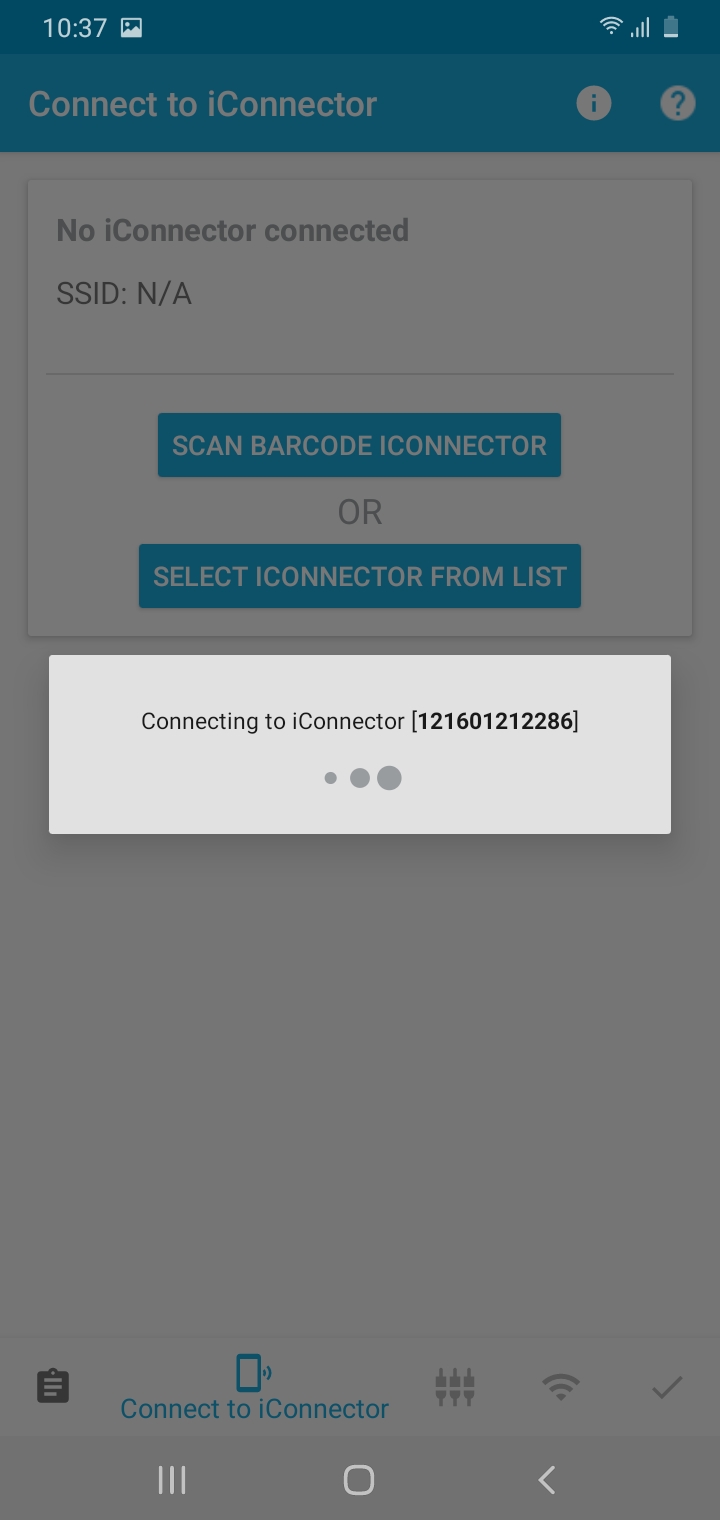
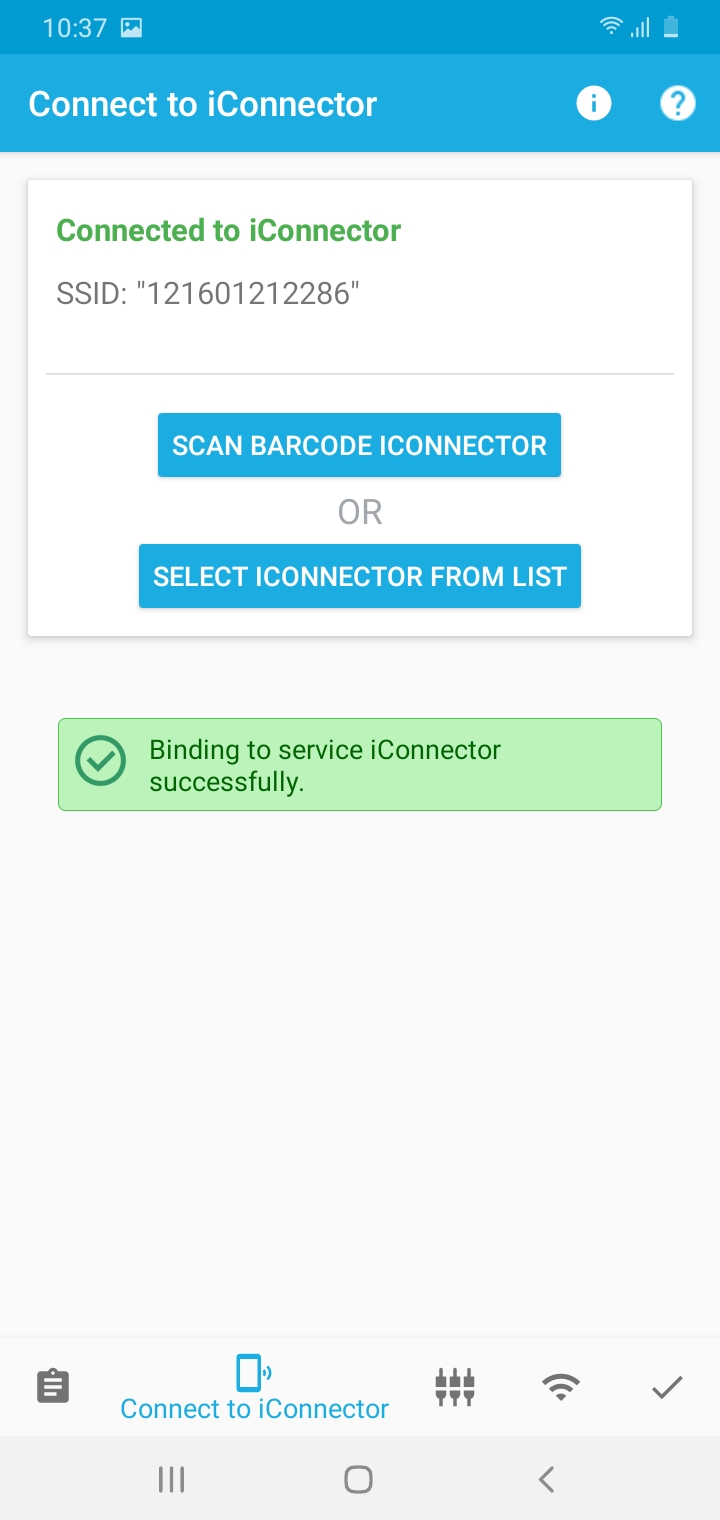
 Step 2: Open the iConfig Mobile App and select iConnector from the list of wifi networks with the SSID as the serial number on the device.
Note: Use must enable location in the phone to be able to use it
 |
 |
 |
 |
3.2. Wifi Configuration
- Select
 tab to configure Wifi Network on iConnector

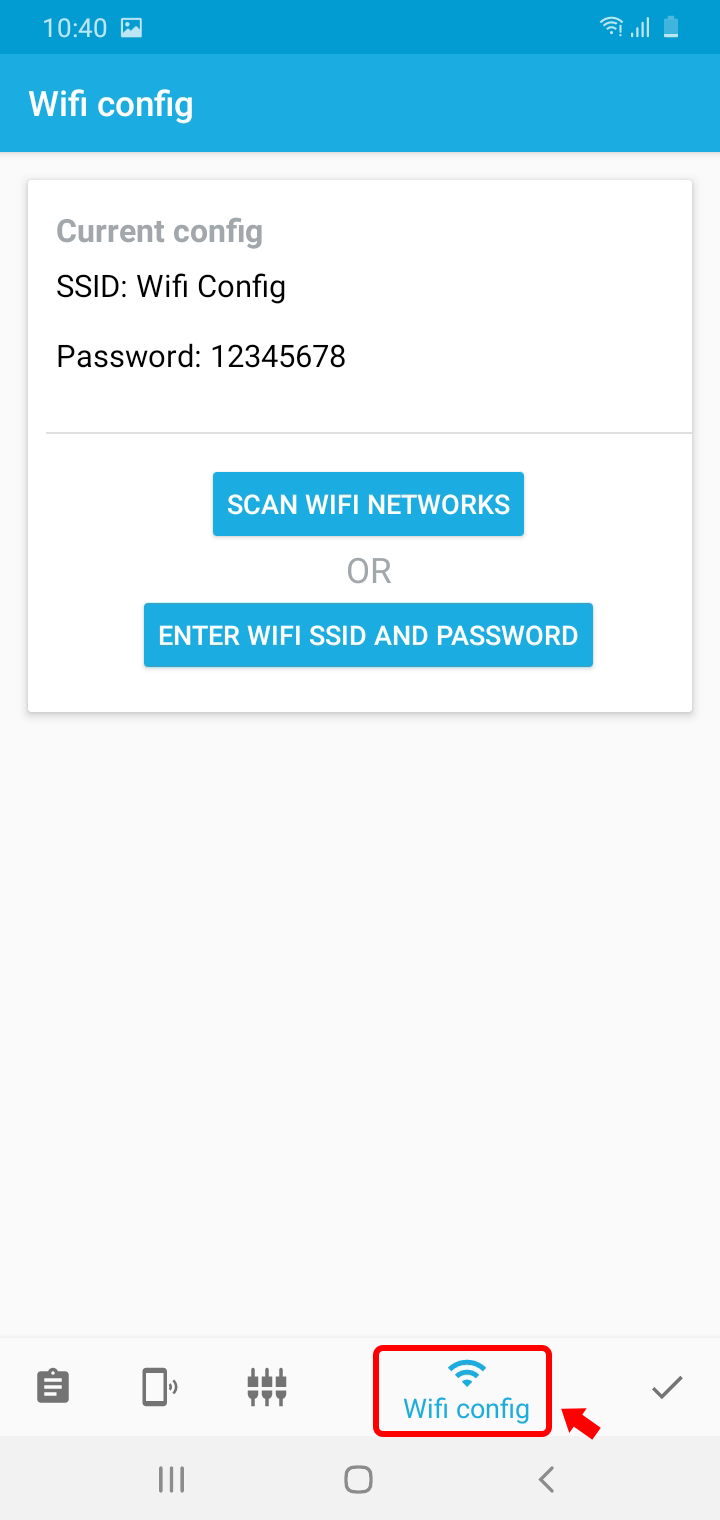
After choosing Adding Sensor icon, you will choose the method of adding the sensor that you will use:
- Scan Wifi Networks
- Enter Wifi SSID and Password
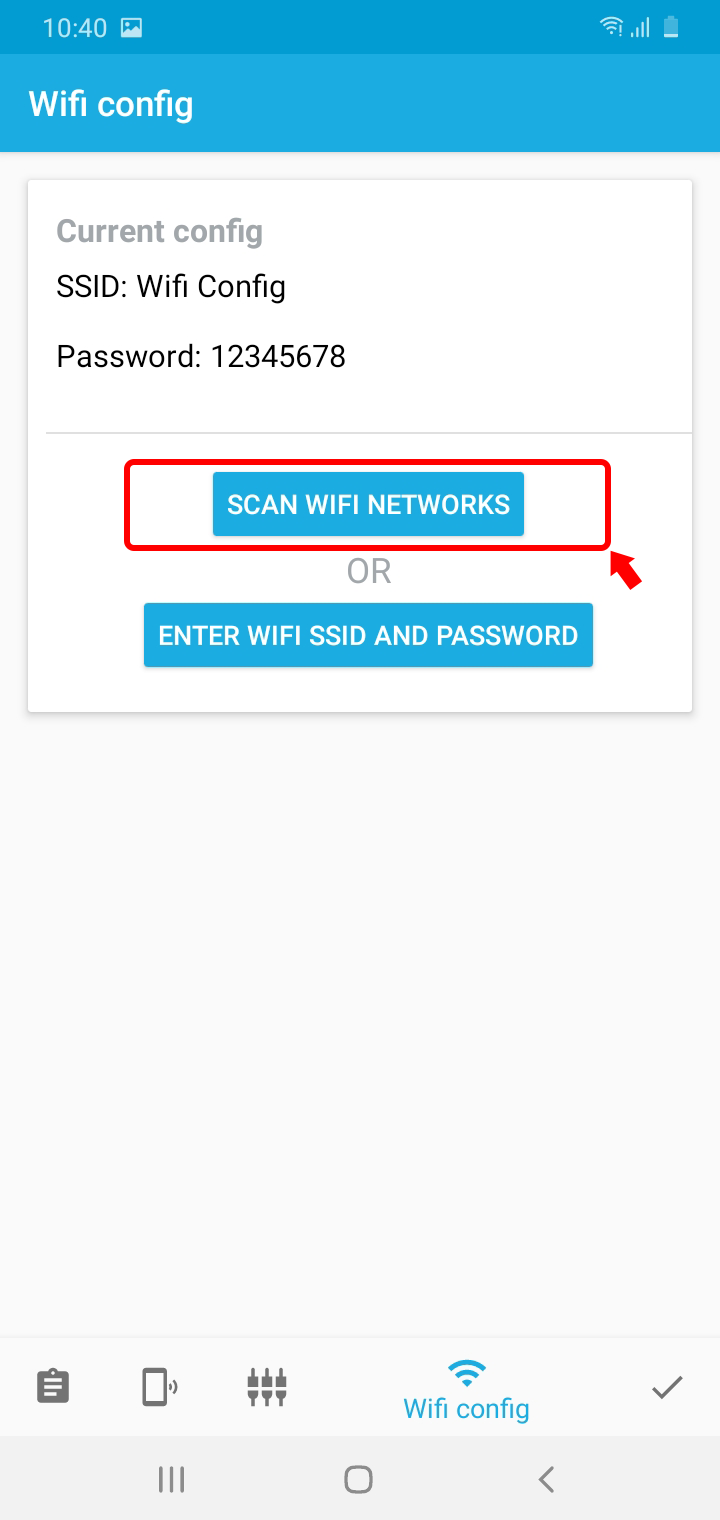
3.2.1 Scan Wifi Networks
|
Select Scan Wifi Networks
|
The application will display a list of wifi networks
|
|
Enter the password of the selected Wifi network
|
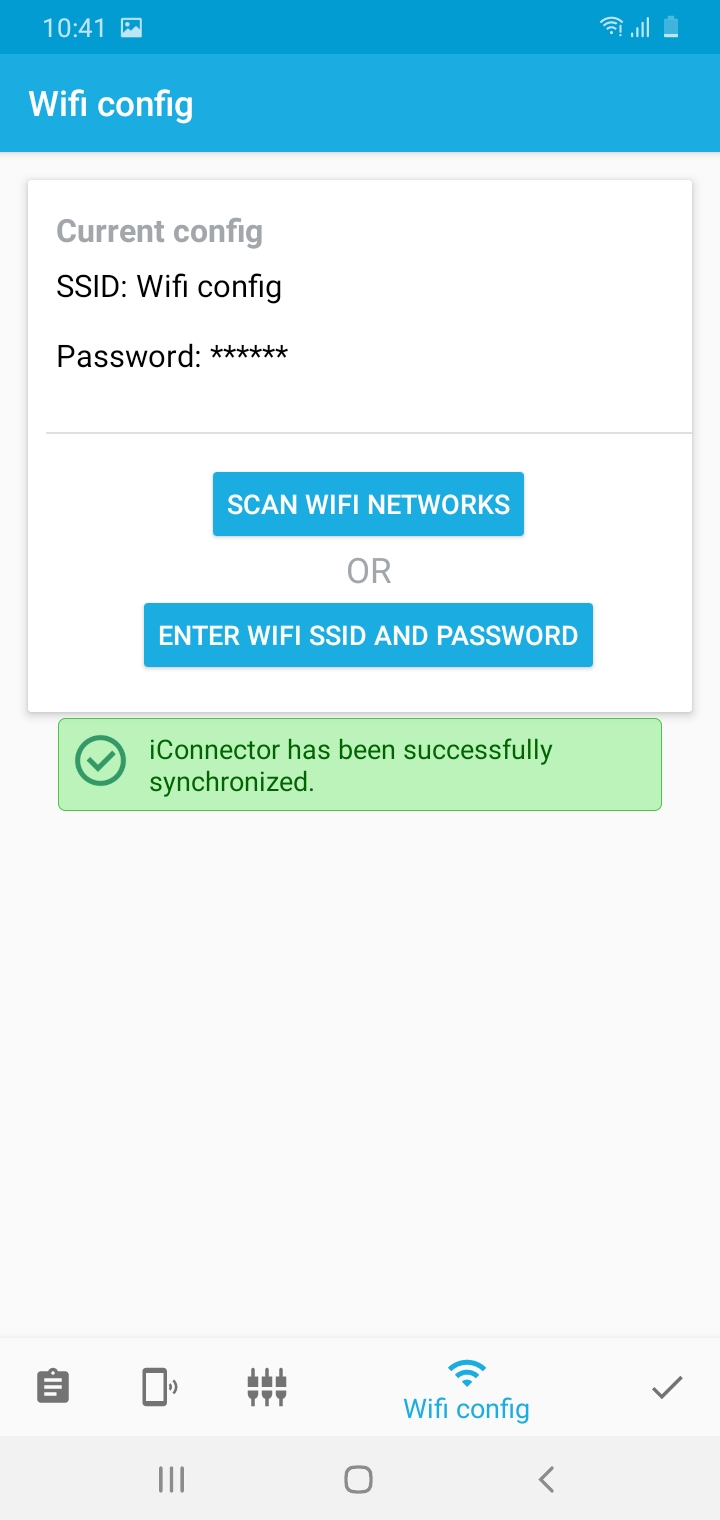
The application will show a successful Wifi network configuration
|

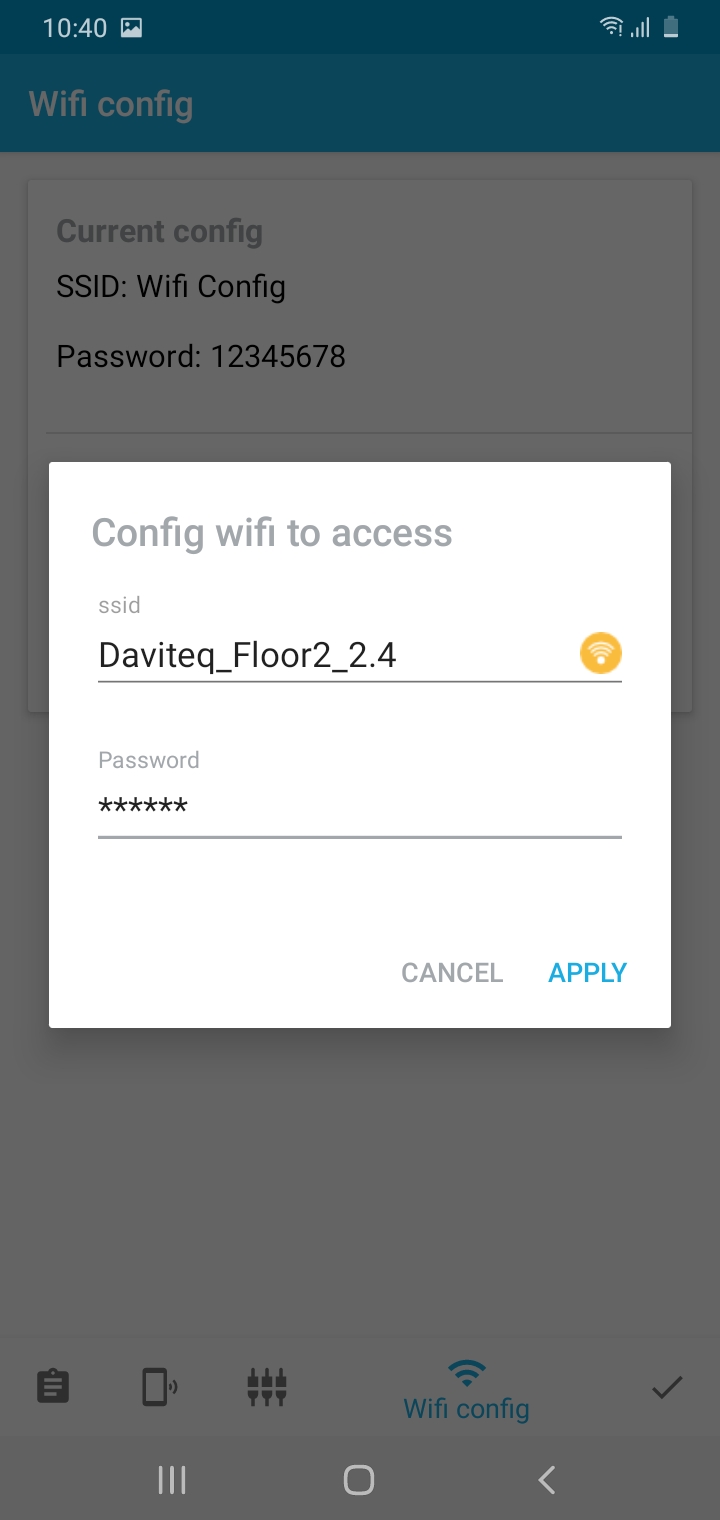

3.2.2 Enter Wifi SSID and Password
|
Select Scan Wifi Networks
|
Fill in the information of the Wifi network to connect
|
|
Enter the password of the selected Wifi network
|
The application will show a successful Wifi network configuration
|


4. Adding Sensor Node
- Select
 tab to Adding Sensor Node or Delete Sensor Node
 - Select
 to Adding Sensor Node


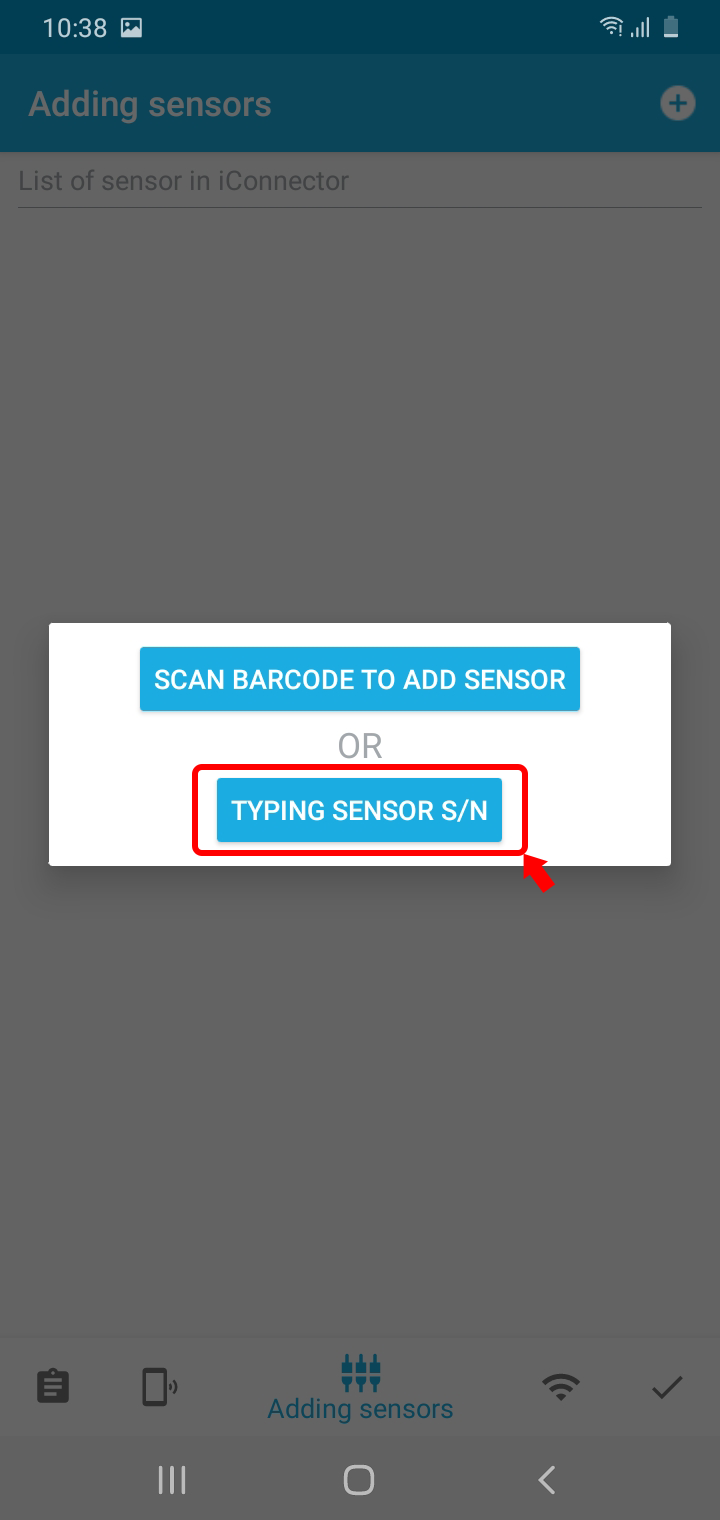
After choosing Adding Sensor icon, you will choose the method of adding the sensor that you will use:
- Scan Barcode
- Typing Sensor S/N
4.1 Scan the barcode to add sensors
|
Select Scan Barcode To Add Sensor
|
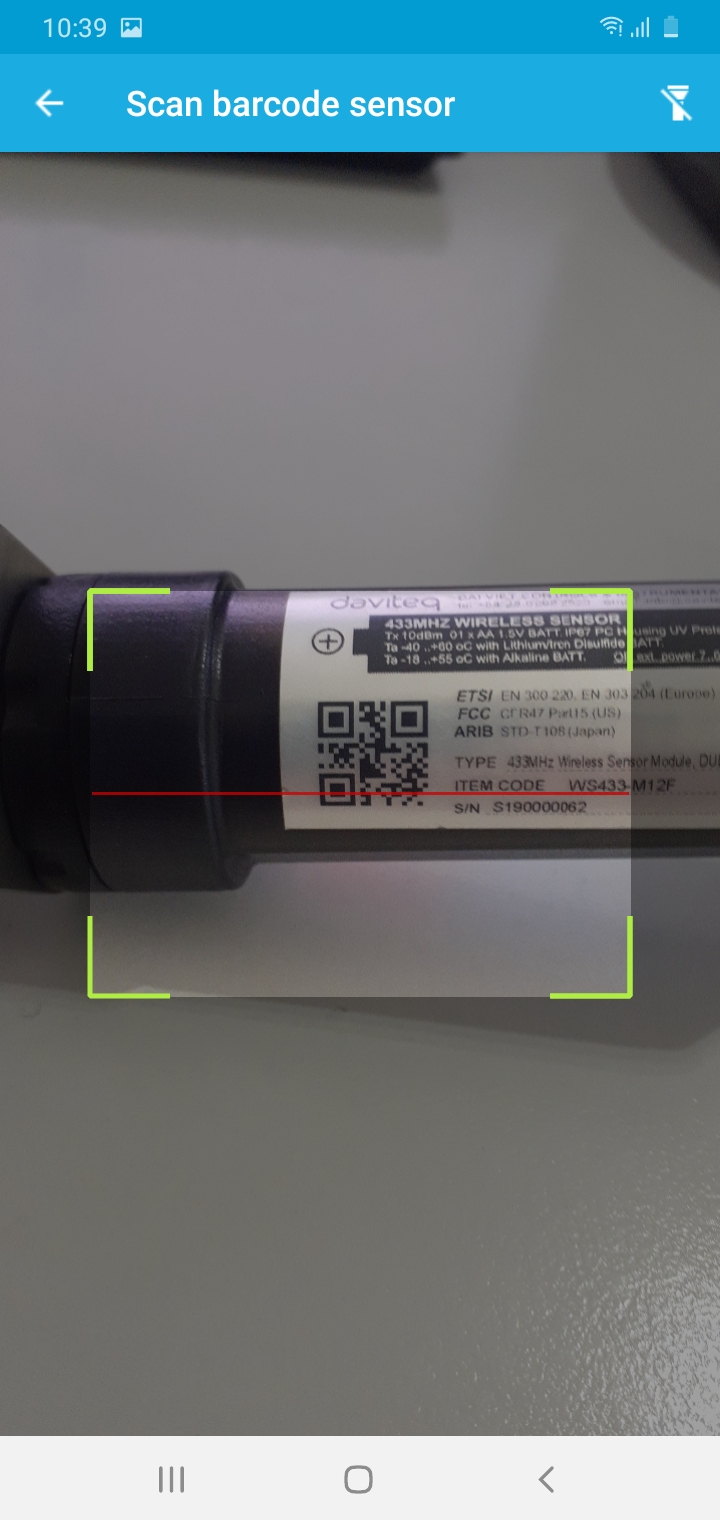
The application will enable the camera to scan barcode (you need to grant permission to use the camera)
|
|
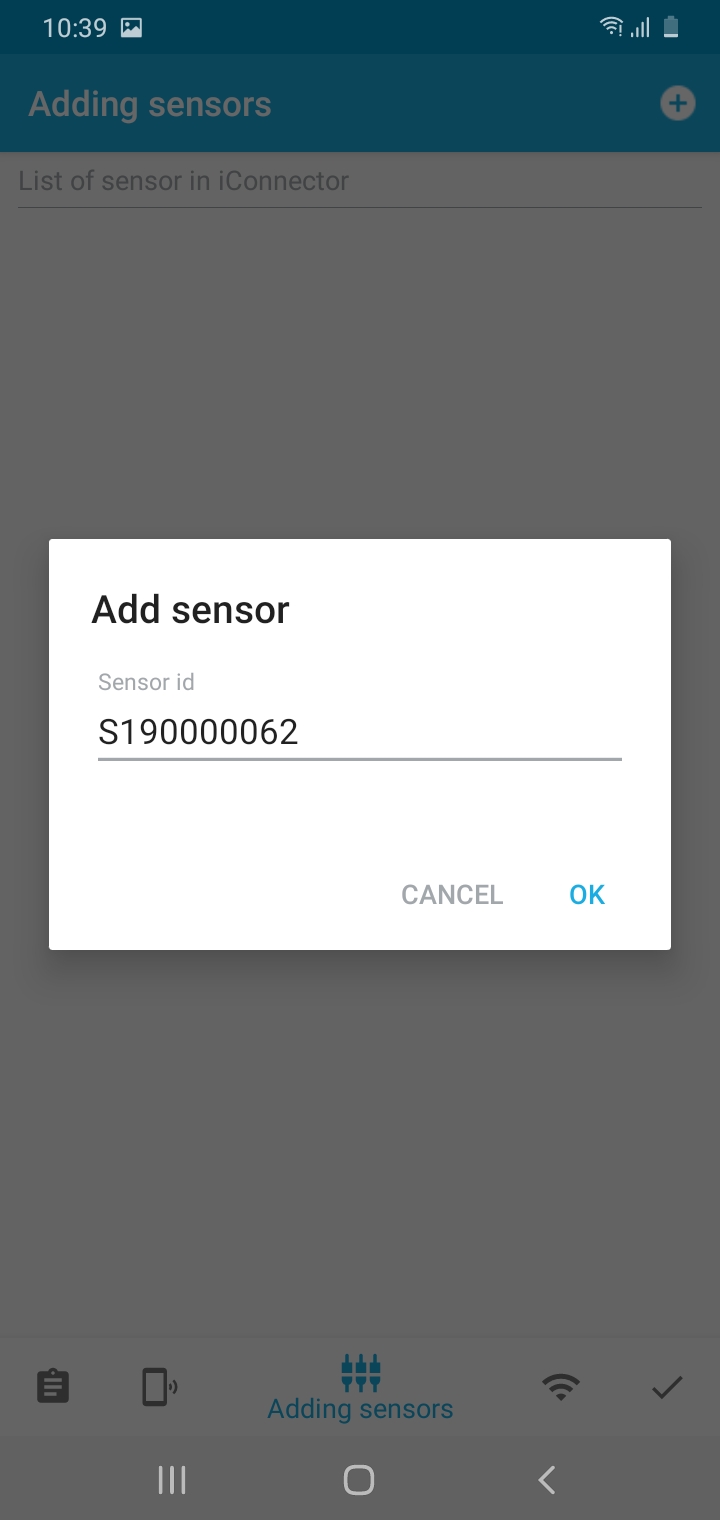
Select OK to add an S/N sensor to the app
|
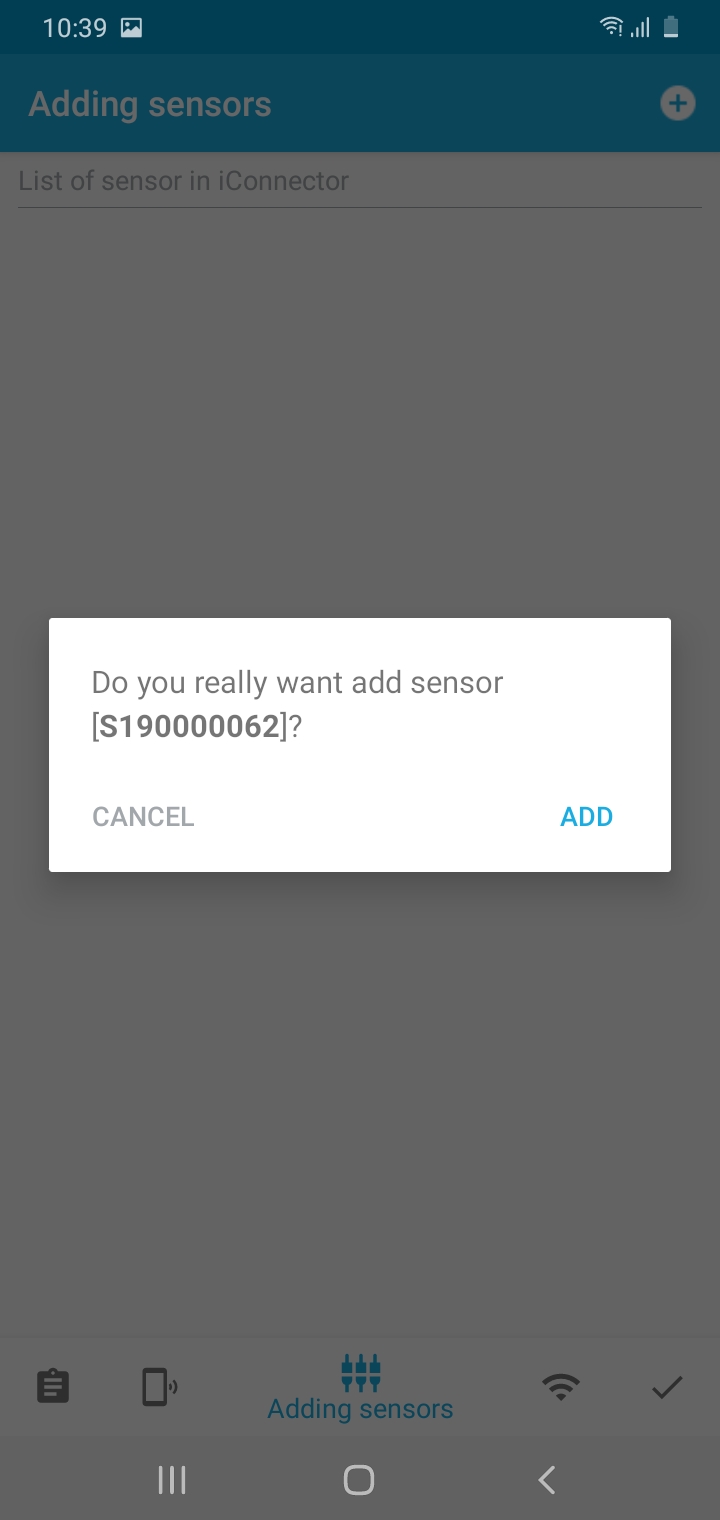
Select ADD to confirm adding S/N sensor to the app
|

4.2 Typing Sensor S/N to add sensors
|
Select Typing Sensor S/N
|
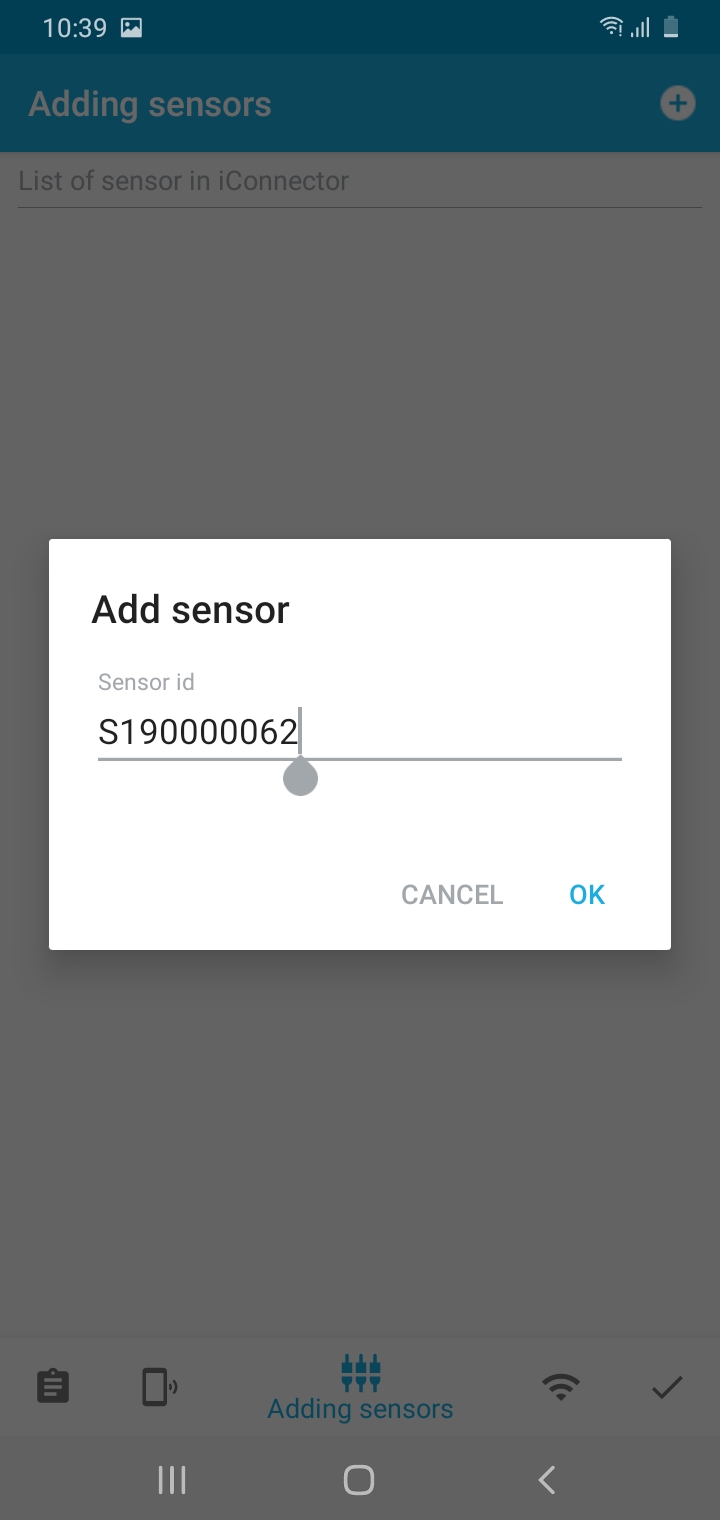
Enter the Serial Number of the wireless sensor then select OK
|
|
Click ADD to add an S/N sensor to the app
|
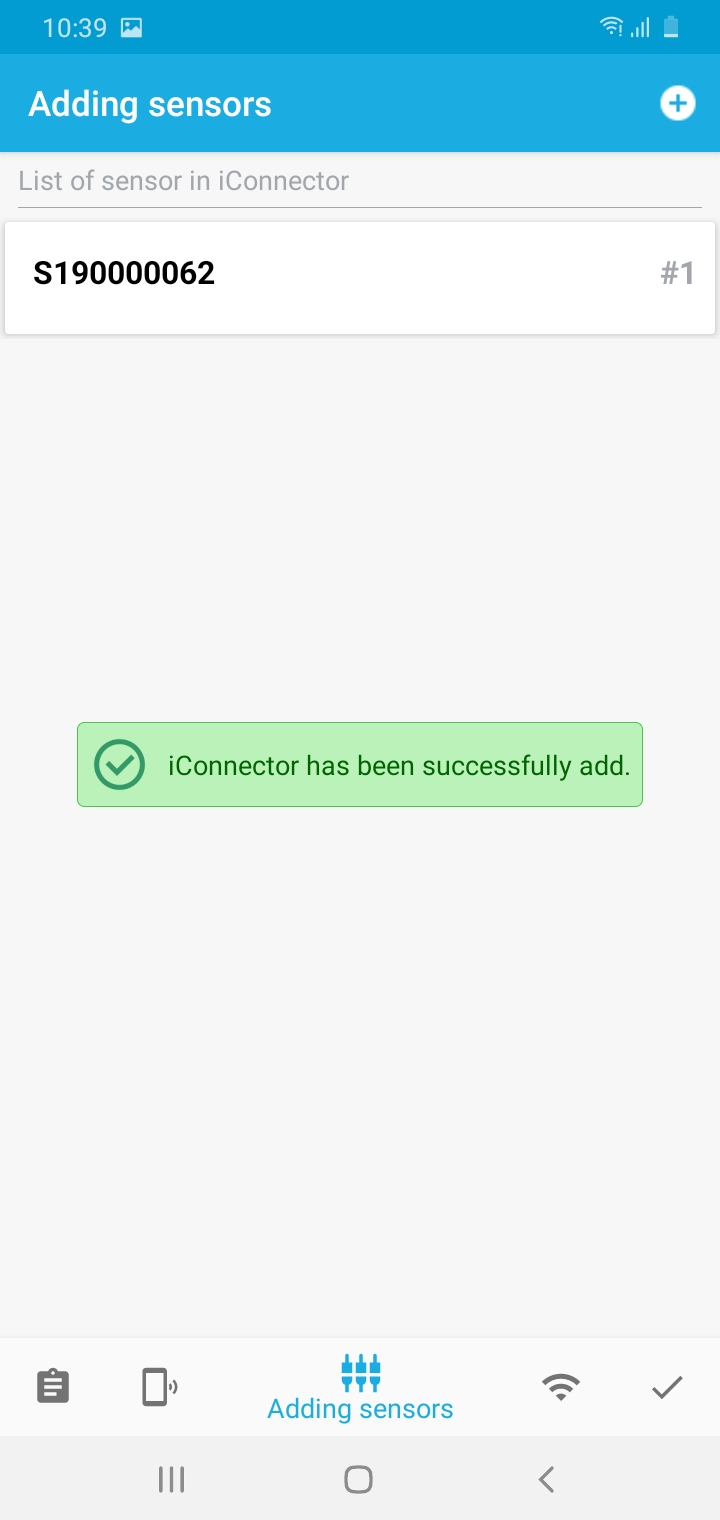
The added wireless sensor will appear on the list
|

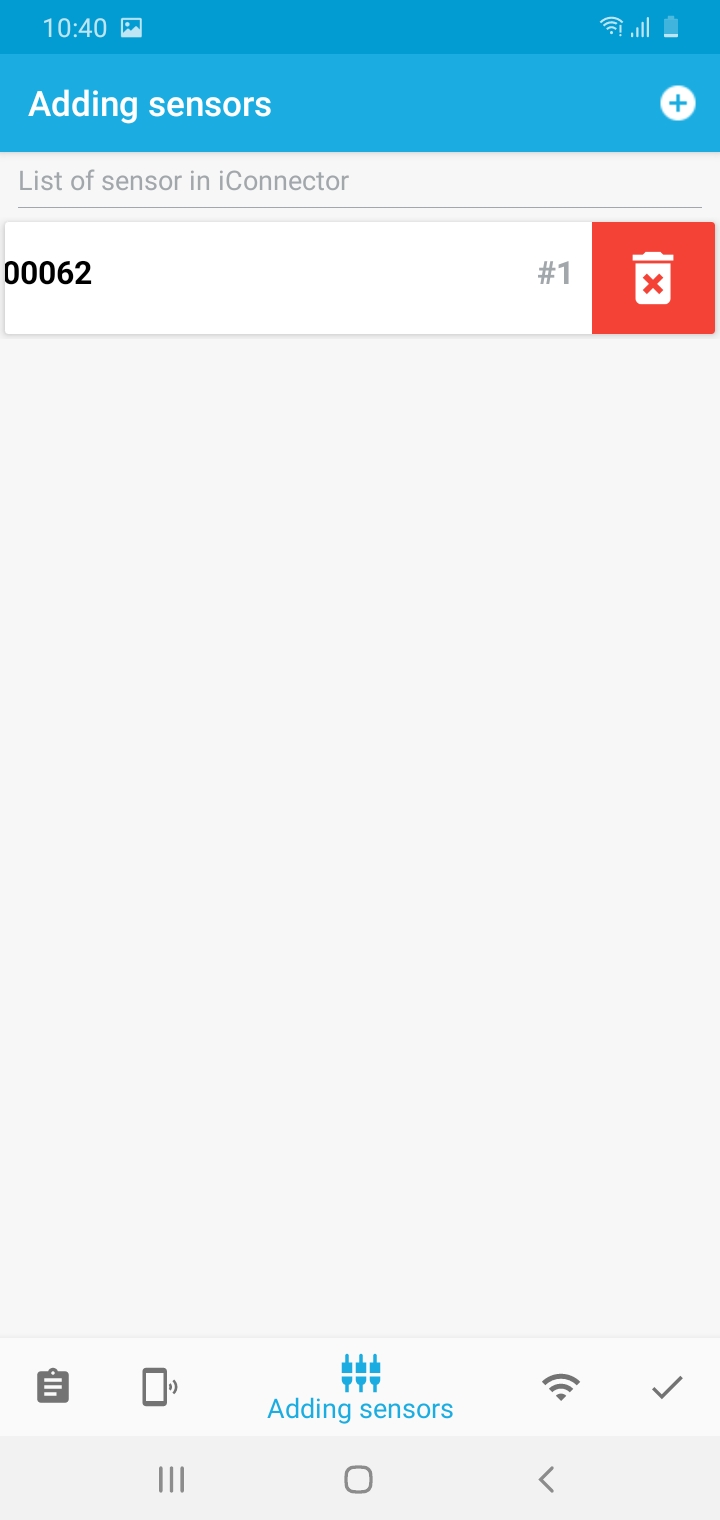
5. Delete Sensor Node
|
Select the sensor you want to delete and then swipe left, then the trash can icon will appear. Select that trash can icon
|
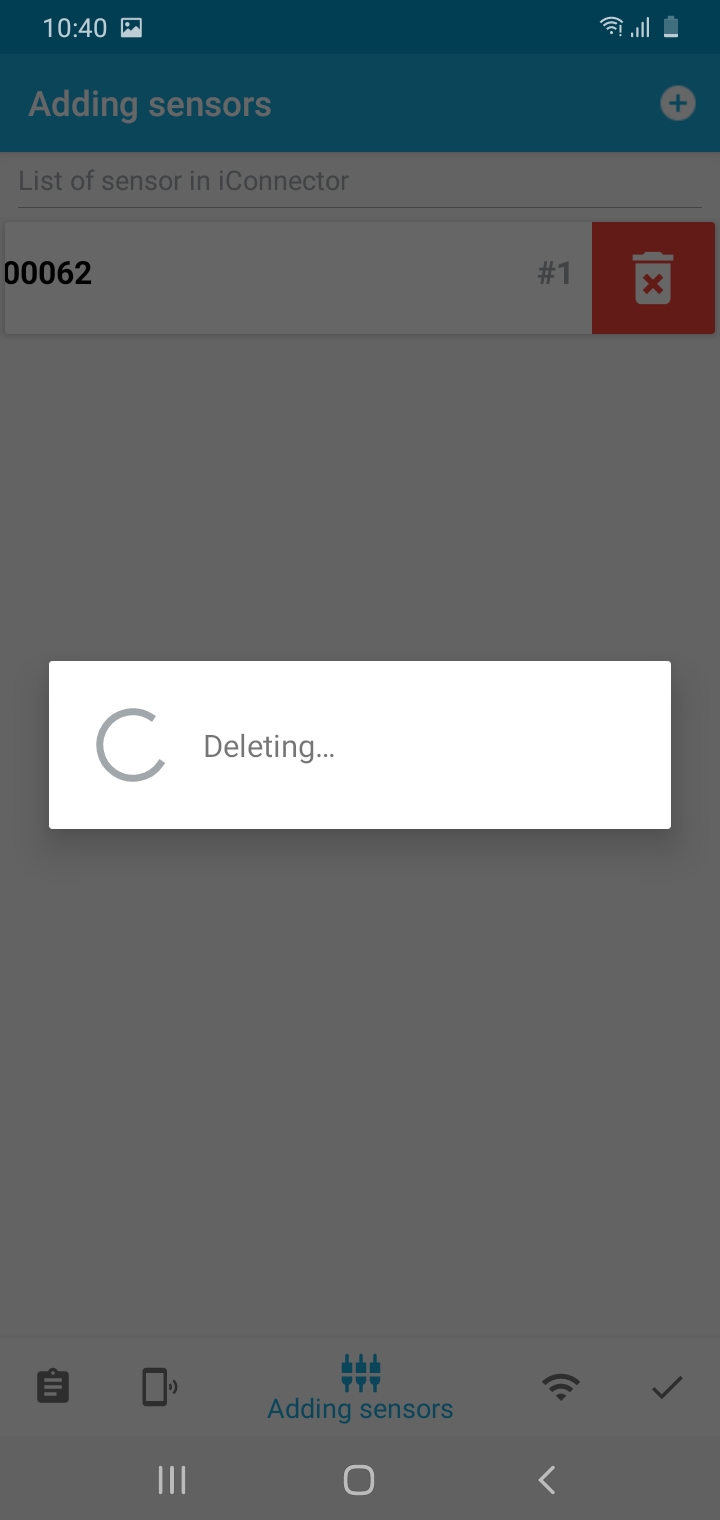
Select Detele
|
|
After selecting delete, the application will remove the sensor from iConnector
|
The app has removed the sensor from iConnector
|


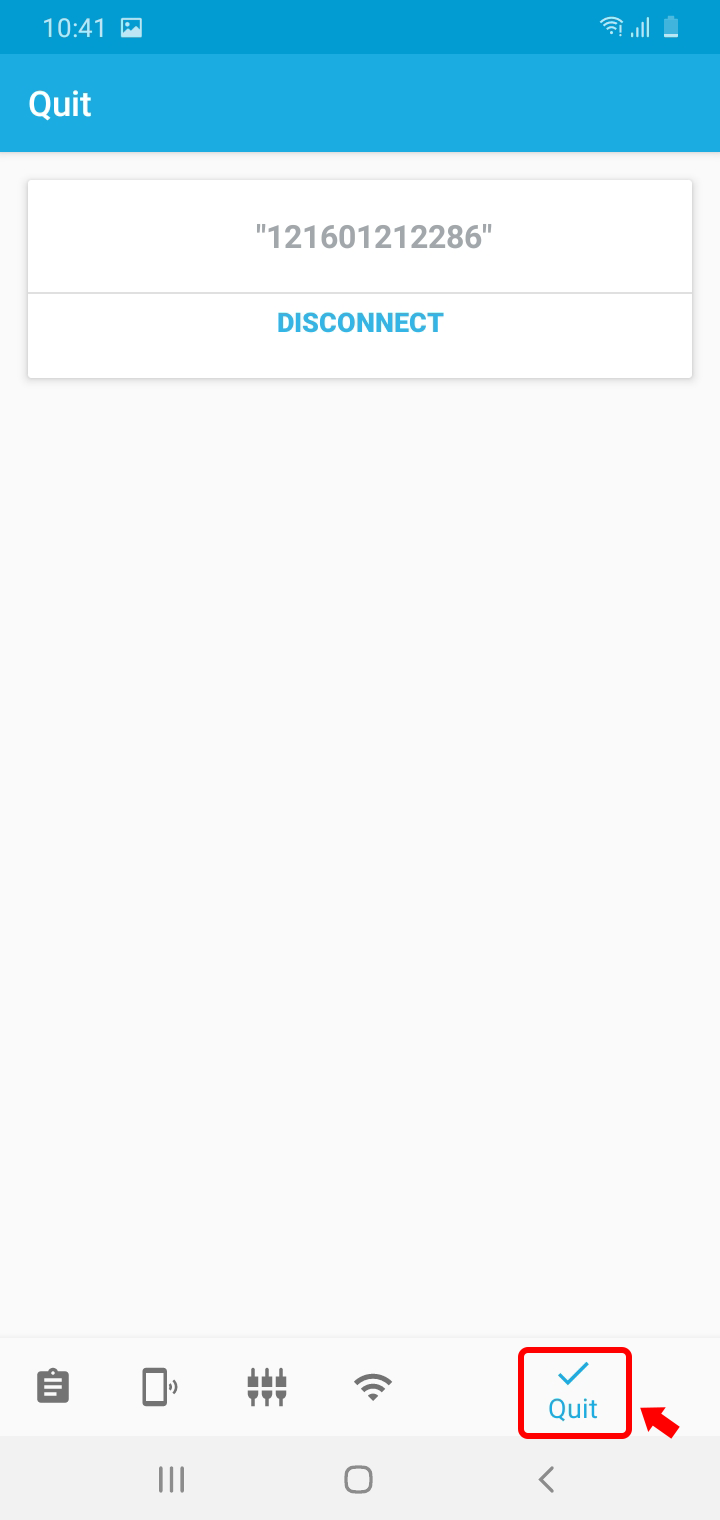
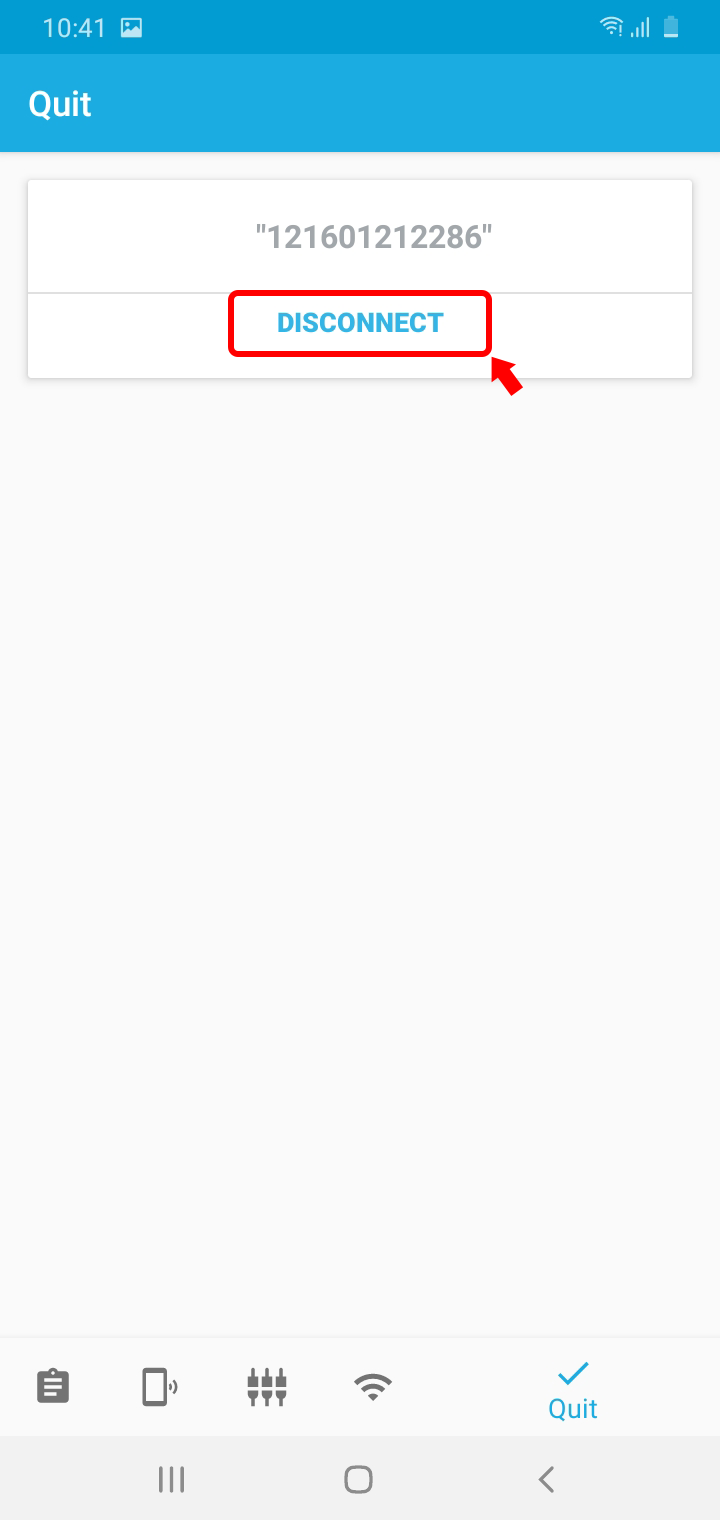
6. Exit the application
|
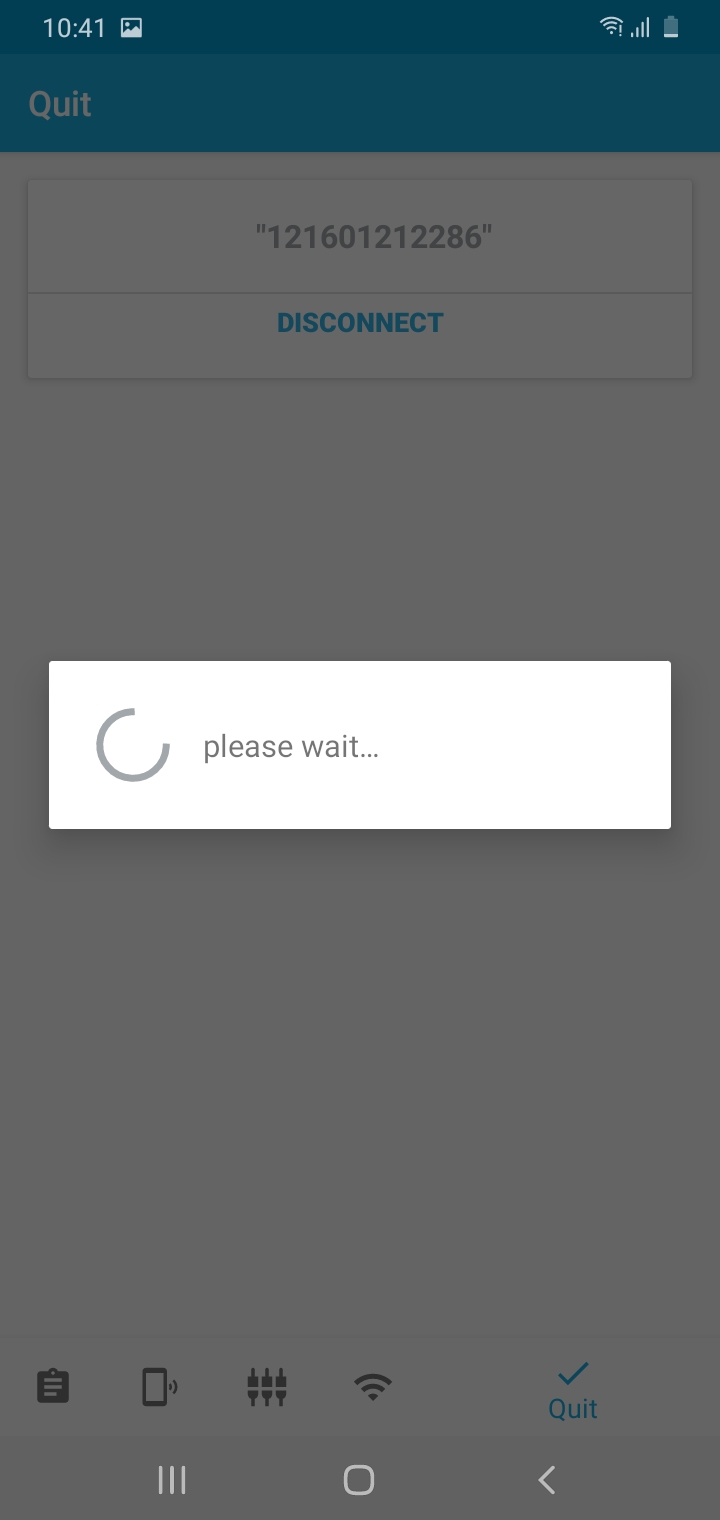
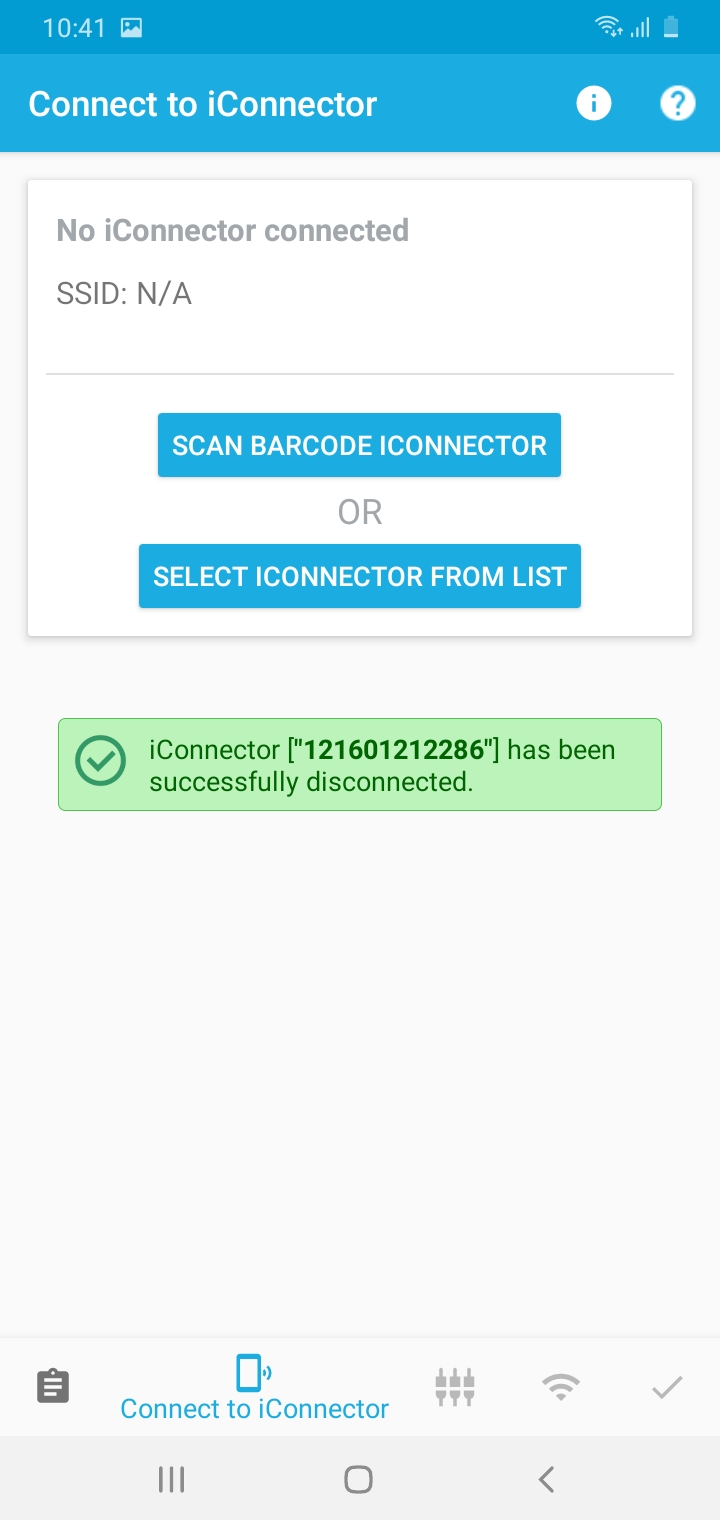
Select
|
Select Disconnect
|
|
|
|

7 . Troubleshooting
| No. | Phenomena | Reason | Solutions |
| 1 | Cannot detect wifi network |
|
|
| 2 | After configuring wifi, iConnector Wifi is not connected to wifi network (not yet bright LED Network) | Wifi network configuration is not correct |
|
| 3 | After adding sensor, iConnect Wifi cannot connect with the wireless sensor | Adding Sensor configuration is not correct |
|
8. Support contacts
|
Manufacturer
Daviteq Technologies Inc Email: info@daviteq.com | www.daviteq.com
|
Distributor in Australia and New Zealand
Templogger Pty Ltd Tel: 1800 LOGGER Email: contact@templogger.net |

No Comments