How to Create Account Globiots
| MN-VIZUO-EN | Sep-2020 |
1. Functions Change Log
| Release Date | Version | Functions Change |
| Sep-2020 | 1.0 | Create account in Templogger |
2. CREATE NEW ACCOUNT
- In Home screen, select menu Administrators → select sub-menu Account Management.

- In screen of account list, click button “Add account” to create new account.


Enter information account into panel (1).
Email: enter email address. Email is unique.
- Field with mark * must be filled
- In email adress, uppercase and lowercase are the same.
- Select right Time Zone for user.
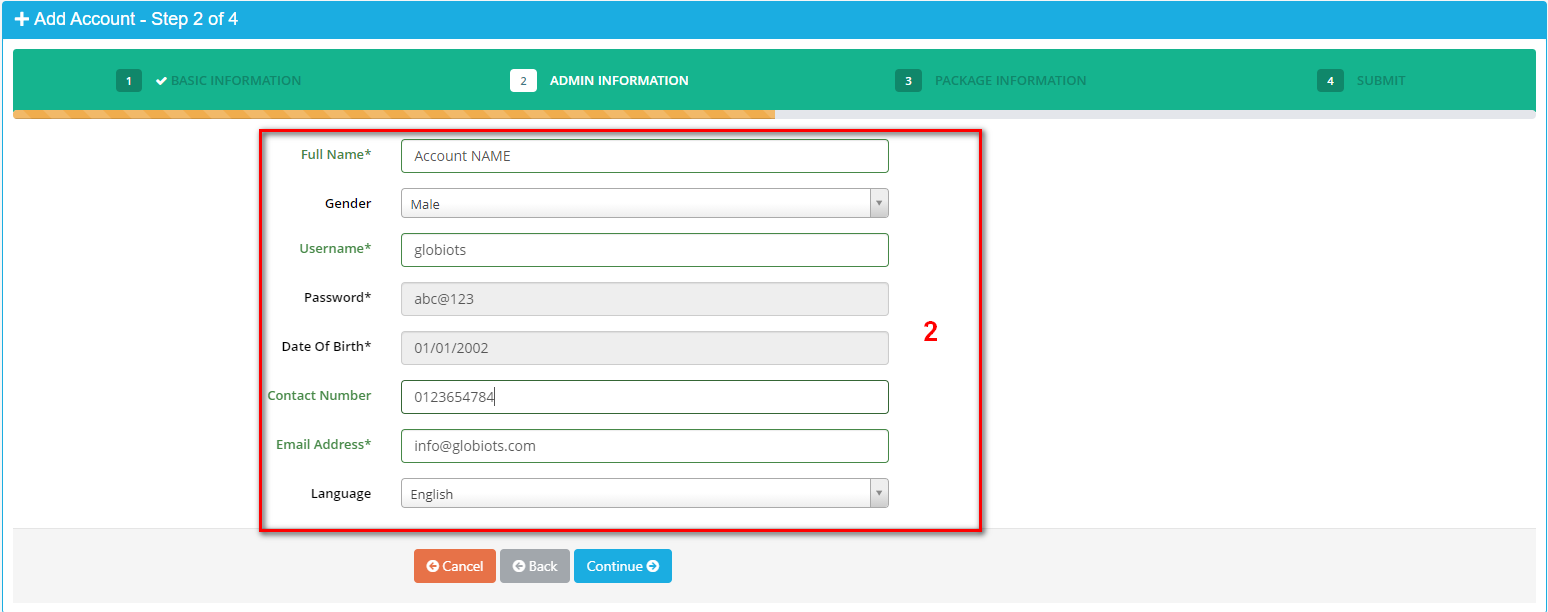
Enter information of admin user into panel (2):
- Username: Enter username. Username is unique.
- Email: Enter email address. Email is unique.
- Contact Number: Enter phone number. Phone number is unique.
- Click button “Continue” to go to step 3.
- Screen of step 3 should appear:

(3) Select package for account.
- Screen of step 4 should appear:
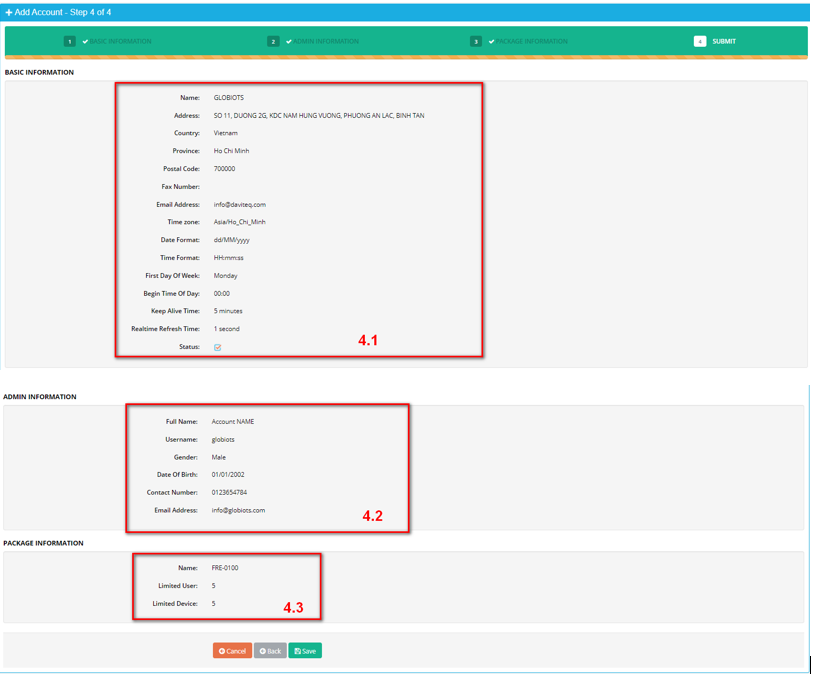
(4.1) Display basic information of account in step 1.
(4.2) Display information of admin user in step 2.
(4.3) Display assigned package information in step 3.
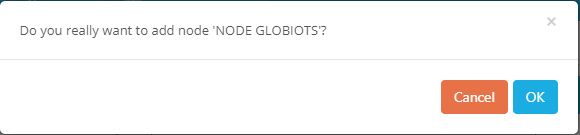
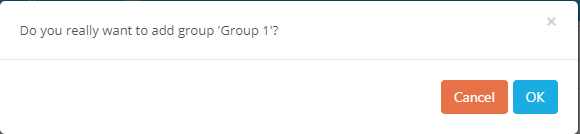
- After click button “Save”, confirmation screen should appear: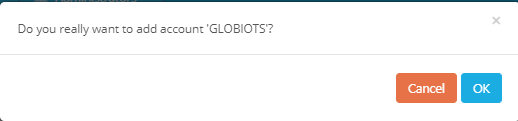
Click “OK” to finish.
- After successfully create new account, an admin user of account is also created.
- Number of used user of account increases by one for admin user.
- Information of admin user should be in user list.
3. CREATE NODE ASSIGN TO ACCOUNT
3.1. Node Definition
In Organization Chart Panel, Node is used to create Organization Chart. Node name should be geographical area, type of energy or responsible person. A Node includes one or more sub-Node and Device
3.2. Organization Chart
To close or open “Organization Chart” panel, you can click  on left corner of screen Organization Chart page includes all Node and Device in system:
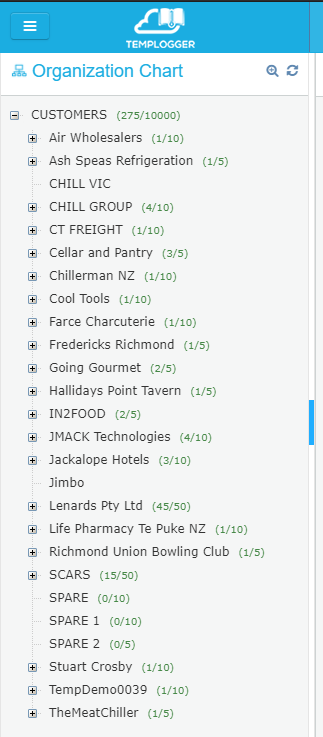
- Node name
- Number using device of account/Max number device of account
Right click on Node name, menu of Node displays:
- New: Create new Node, Device
- Delete: Delete Node
- Assign to account: Assign Node and sub-Node to account
- Rename: Change name of Node
3.3. Create New Node
To Create a sub-Node:
(1) Select Node
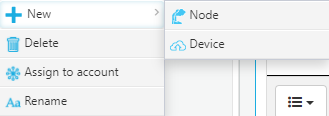
(2) Right click and select “New”
(3) Click “Node” to create new Node


Click Save node
3.4. Assign Node to account
- In Organization Chart panel , select Node to assign to new account created, right click Node name → select “Assign to account” : A list account displays:
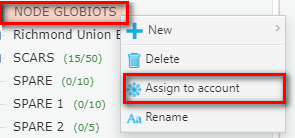
NODE GLOBIOTS: Node is created in step 2.3

- Click “Assign” button to assign Node to account Or Click “Unassign” to un-assign Node from account.

4. CREATE USER
4.1. Create User
- Login with the admin user created in step 1
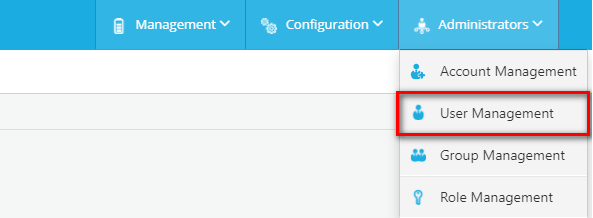
- In Home screen, click menu Administrators → select sub-menu User Management
- In screen of user list, click button “Add user” to add new user.

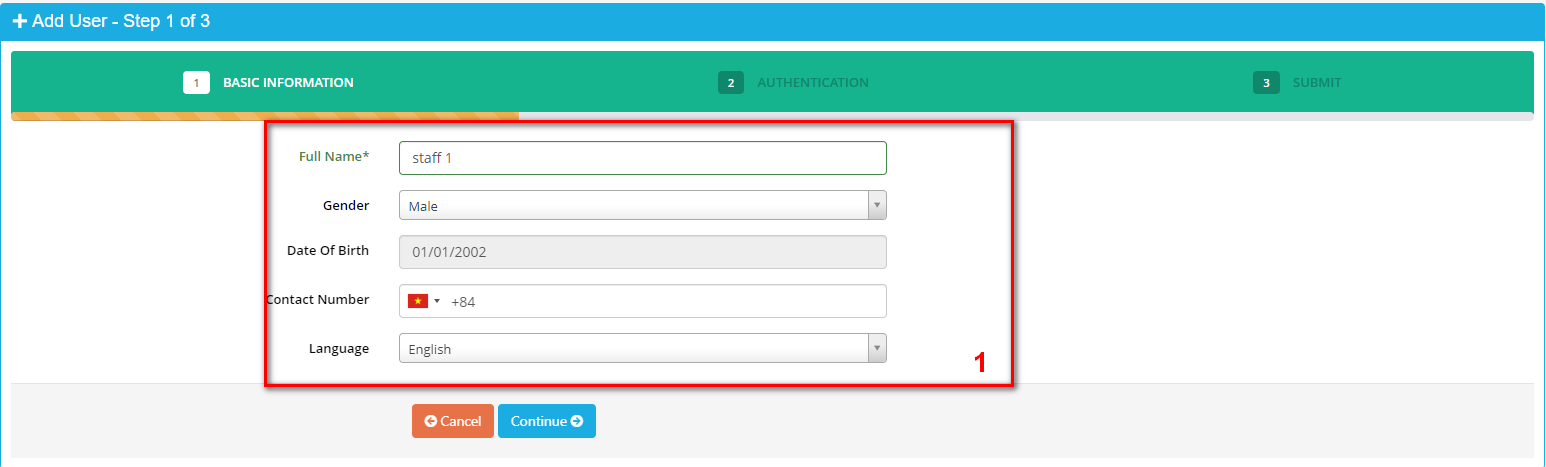
Enter basic information into panel (1).
- Contact Number: Enter contact number. The number is unique.
- Click button “Continue” to go to step 2.
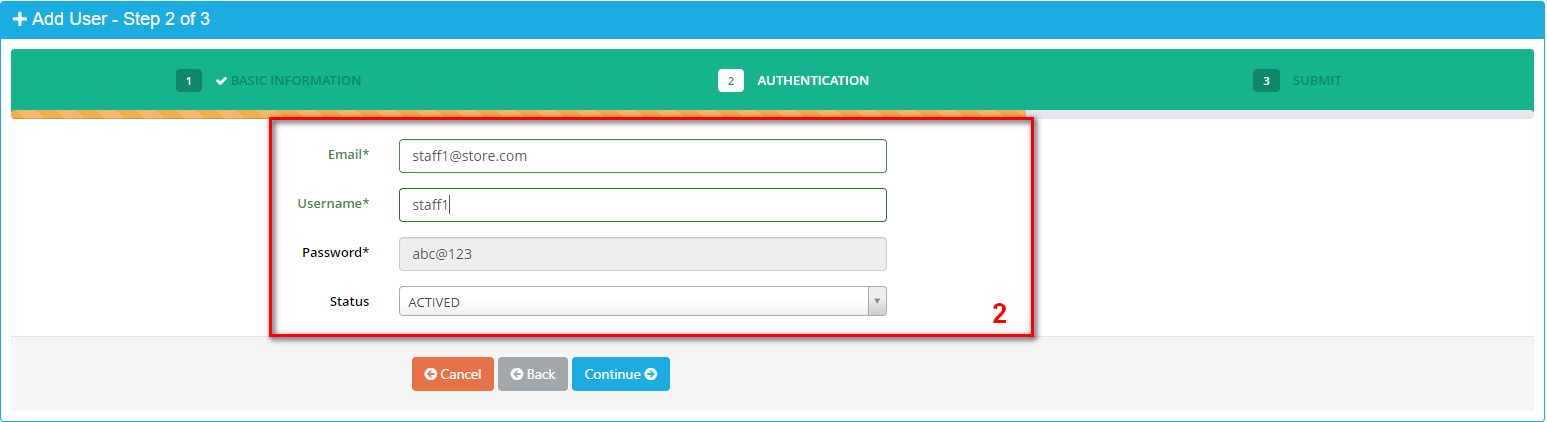
Enter information for user to sign-in into panel (2):
- Email: enter email address. Email is unique.
- Username: enter username for sign in. Username is unique. Username has at least 6 characters.
- Password: default password is “abc@123”. User must change password when user sign in in the first time.
- Click button “Continue” to go to step 3.
- Enter full information for user.
- Uppercase and lowercase of email and username are the same.
Example: username “USERNAME1” is the same as username “username1”.
- Screen of step 3 should appear:
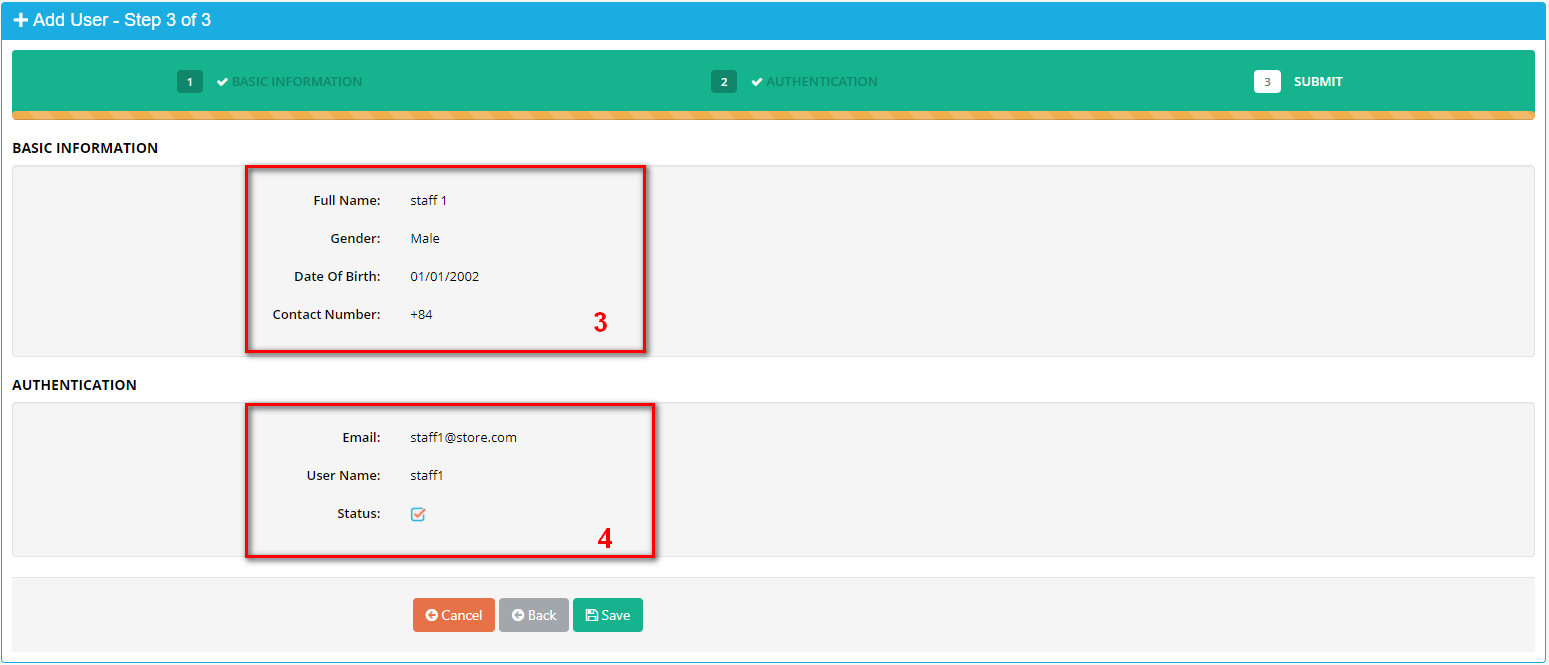
(3) Display basic information of user in step 1.
(4) Display information for sign in in step 2.
4.2. Create Group
- Group is used to assign authorities to users.
- In Home screen, select menu Administrators → select sub-menu Group Management
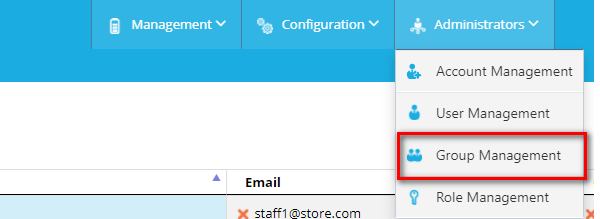
- In screen of group list, click button “Add Group” to create new group of account.

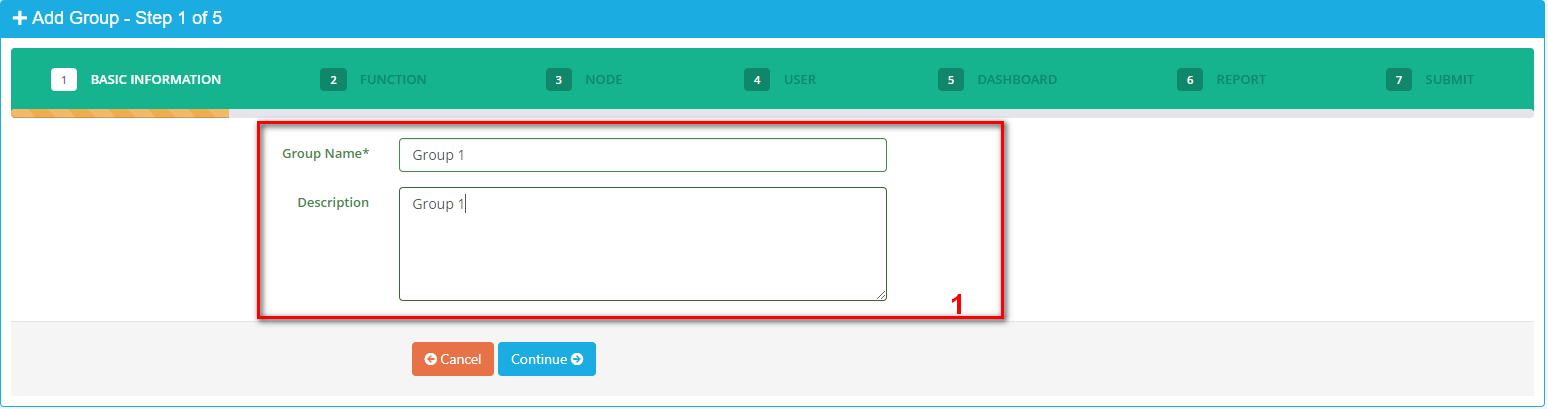
Enter basic information of group into panel (1).
- Group Name: Enter group name. Group name is unique.
- Click button “Continue” to go to step 2.
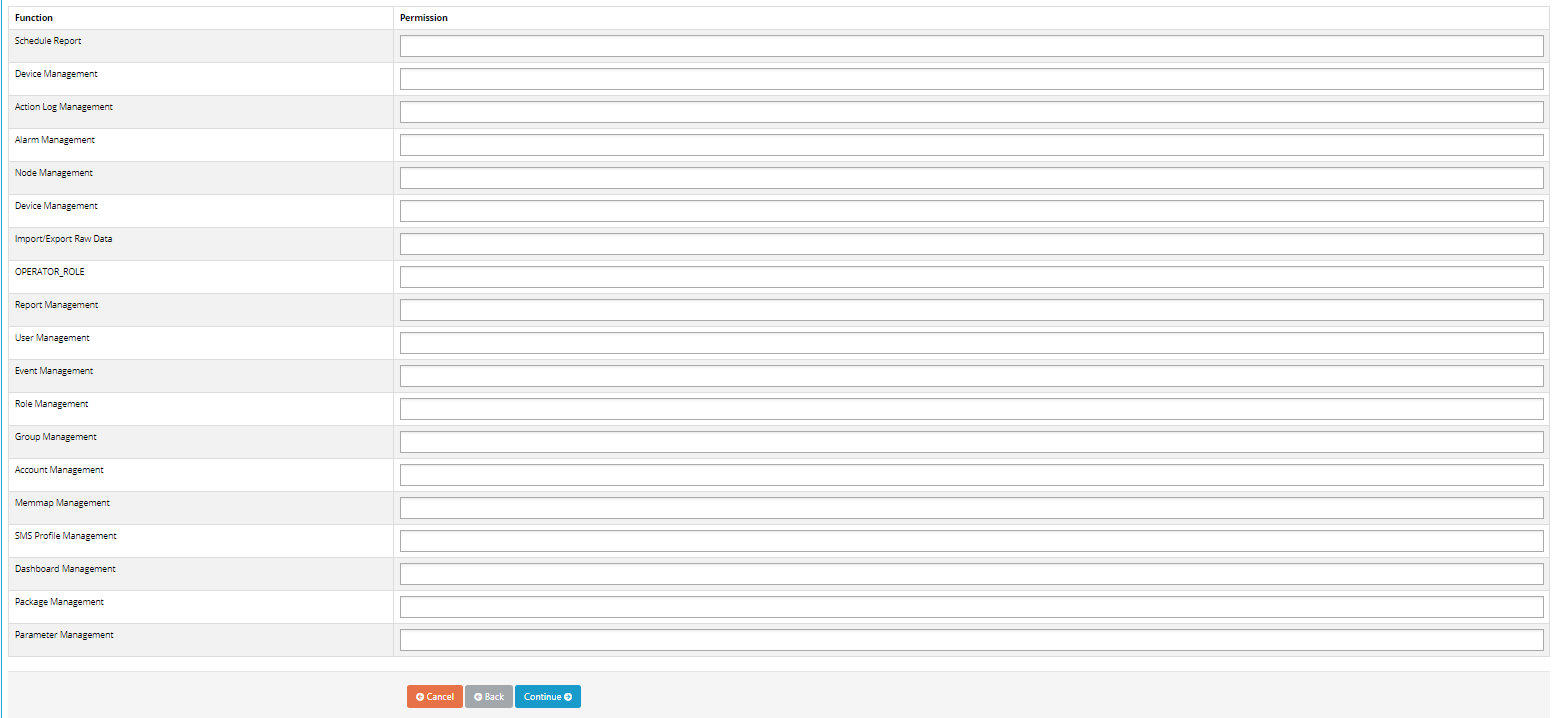
- Select assigned functions for group in area
- Only display assigned functions of account.
- Select one function to assign, then click into area (1) to display authorities of selected function. Click authority to add into group.
- Click mark “x” (2) to remove authority.
- Click button “Continue” to go to step 3.
- Screen of step 3 should appear:
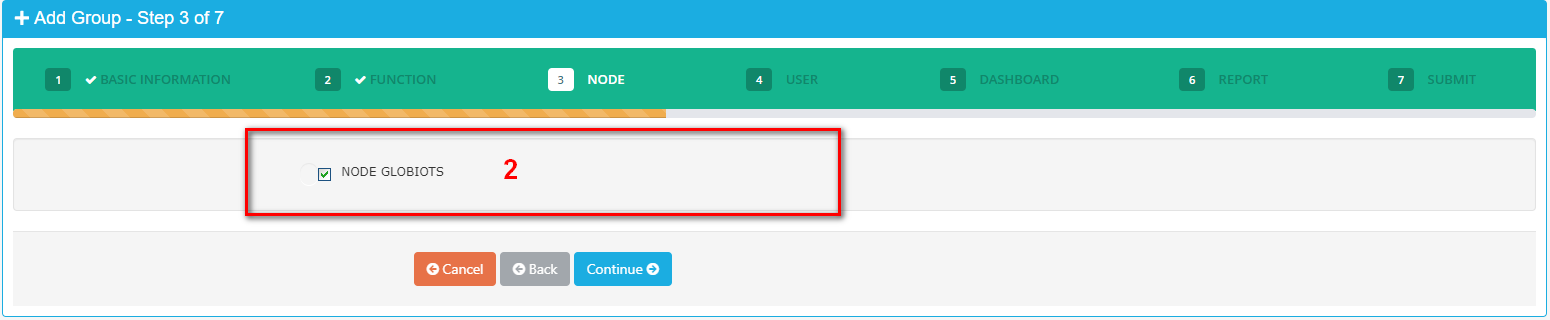
- (2) Display available nodes of account. Tick nodes to assign to group.
- Click button “Continue” to go to step 4.
- Screen of step 4 should appear:
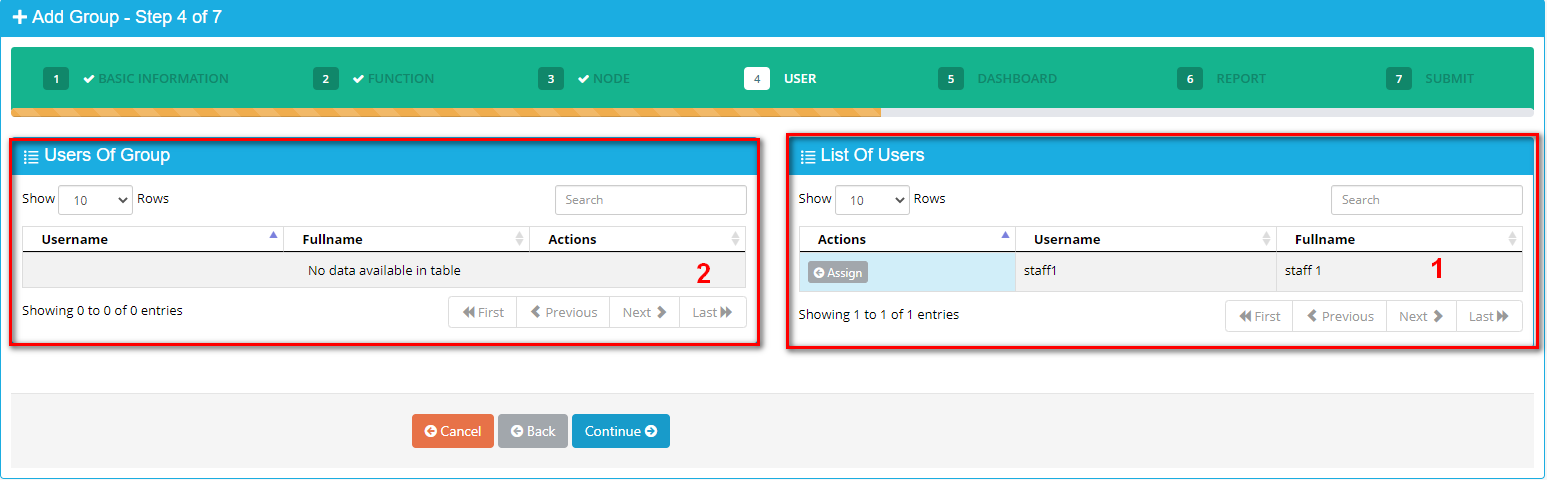
- (1)Display list of users. The users have not been assigned to the group.
- (2) Display list of users which has already been assigned to the group.
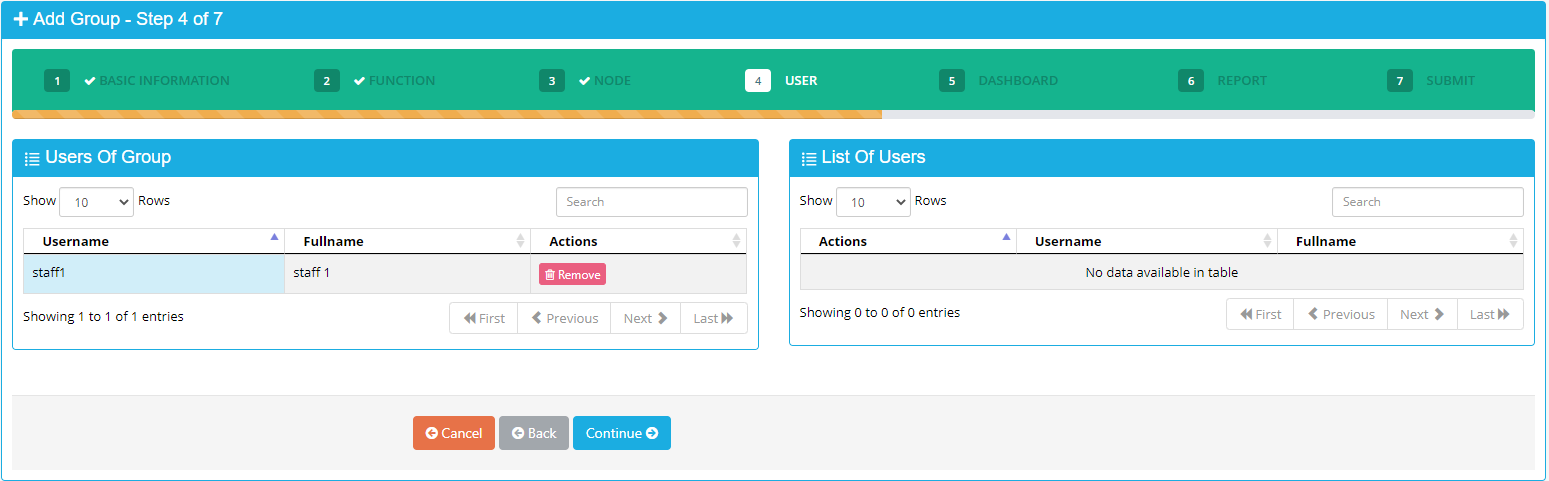
- Button “Assign”: click to assign selected user to group. After click “Assign” button, selected user should be in the list in panel (2).
- Button “Remove”: remove user from group. After click button “Remove”, selected user should be in the list in panel (1).
- Screen of step 5 should appear:
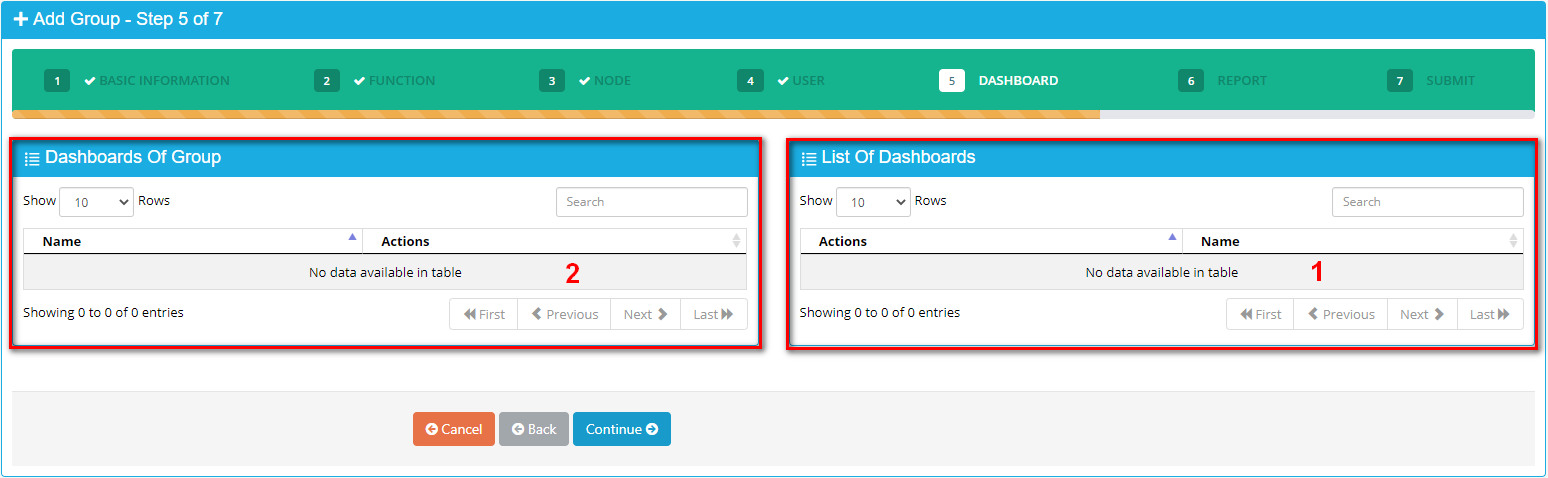
- (1) Display list of Dashboard of signing in group. The Dashboard has not been assigned to group.
- (2) Display list of Dashboard of signing in group. The Dashboard has already been assigned to group.
- Button “Assign”: click to assign dashboard to group. Assigned dashboard should be in panel (2).
- Button “Remove”: remove dashboard out of group. Removed dashboard should appear in panel (1).
- Click button “Continue” to go to step 6.
- Screen of step 6 should appear to view Summary information of group from step 1 to step 8.
5. Support Contacts
|
Distributor in Malaysia
AVO Technology Sdn. Bhd. Official Website: www.avo.com.my No. 17, Jalan 3/23A, Taman Danau Kota, 53300 Kuala Lumpur, Wilayah Persekutuan Kuala Lumpur, Malaysia General : +603-4143 2288 Mobile : +012-376 7181 |
Distributor in Australia and New Zealand
Templogger Pty Ltd Tel: 1800 LOGGER Email: contact@templogger.net |
|
Manufacturer
Daviteq Technologies Inc. Email: info@daviteq.com | www.daviteq.com |
|

No Comments