Instructions for Upgrading the Firmware for Daviteq Sigfox Sensor
1. Preparation
1.1 Prepare a ST-LINK V2 cable that connect between PC and the sensor.
1.2 Save the updated firmware file (.hex) to the PC for flashing to the sensor.
1.3 Save the ID & PAC file (.bin) to the PC for configuring the sensors.
2. Download and install the software "STM32 ST-LINK Utility".
The software can be downloaded from internet via the link: https://www.st.com/en/development-tools/stsw-link004.html

Figure 1. Getting the software from the website.
3. Set up the hardware
Connect the USB port of the ST-LINK V2 to the PC. The other end should be plugged into the PRG port of the sensor.
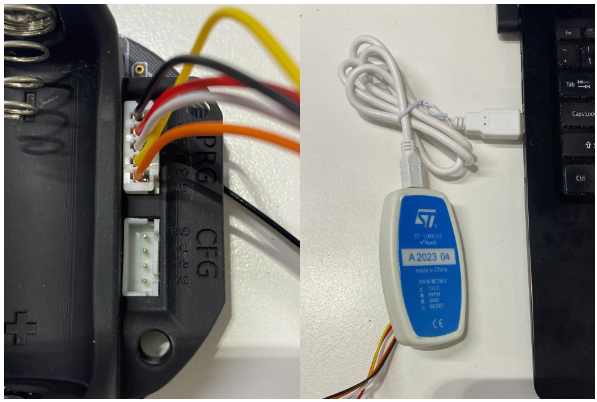
Figure 2. Hardware setup
4. Software configuration
4.1. Open the STM32 ST-LINK Utility software.
4.2 Target => Settings. Then, select "Connect Under Reset" and check "Enable debug in Low power mode" in Mode section =>OK
 |
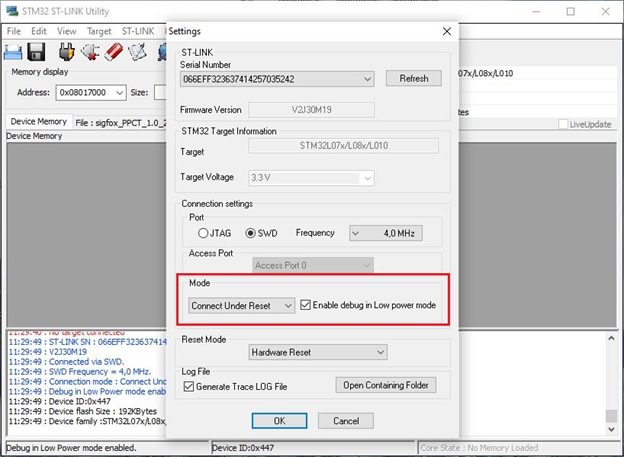 |
Figure 3. Software configuration
Make sure that the PC has a connection to the devices with the cable provided.
5. Loading firmwares.
5.1 Target -> Program & Verify...
5.2 File path => Browse => Choose firmware file (.hex)
|
|
|
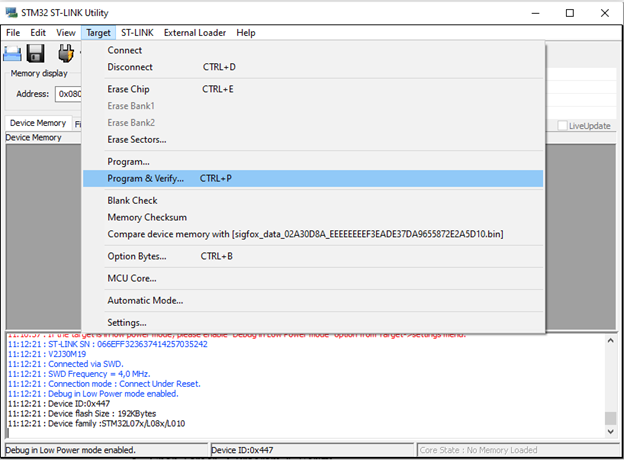
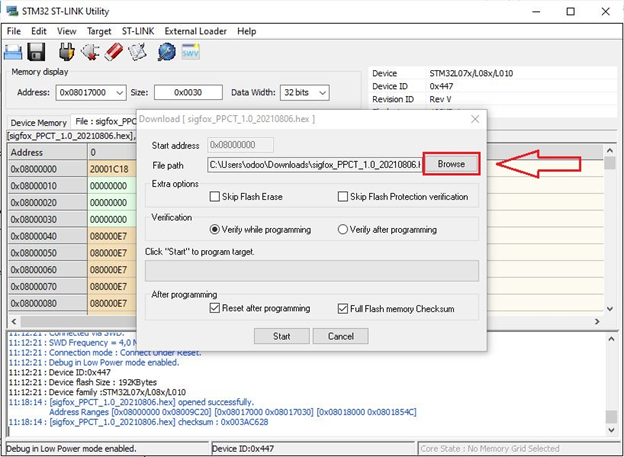
Figure 4. Import firmware file
5.3 Press Start to load the firmware to the sensor
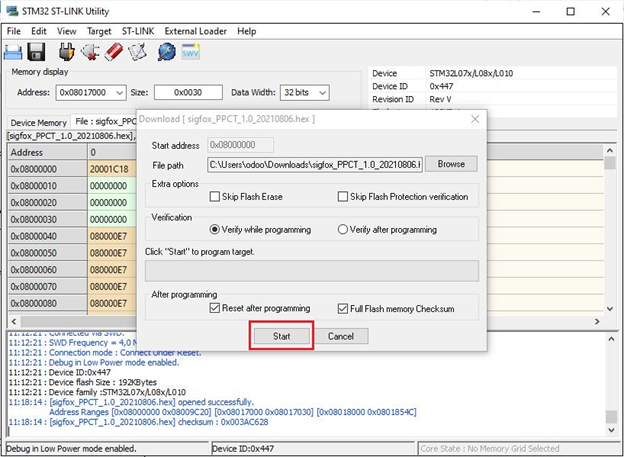
Figure 5. Loading firmware
When the firmware is successfully loaded, the software will display information with figure 6
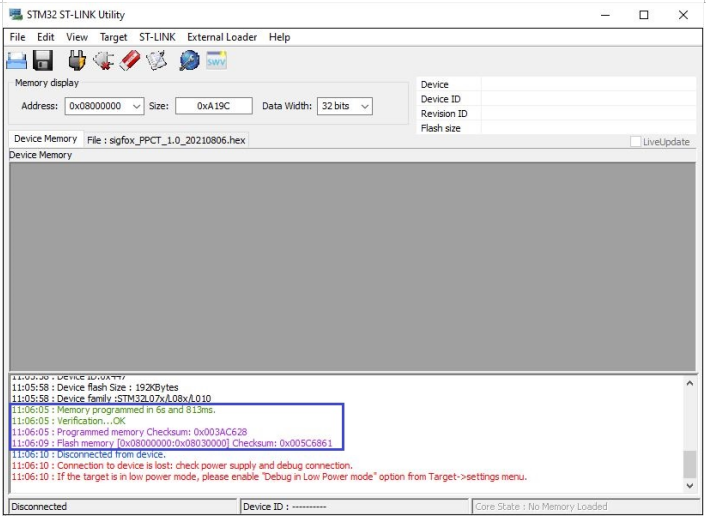
Figure 6. Successfully loading firmware
6. Loading ID and PAC.
After successfully loading the firmware in Step 5, you need to reload the ID&PAC for the sensor. Follow the steps below:
6.1 Target => Program & Verify...
6.2 File path => Browse
6.3 Open ID&PAC file (.bin)
Each sensor has a unique ID&PAC file. Therefore, you need to carefully check to ensure that the file being loaded corresponds to the correct ID and PAC on the sensor's label. (The .bin file name contains the corresponding ID information.)
6.4 Change the Start Address: 0x08017000 => Start
|
|
|
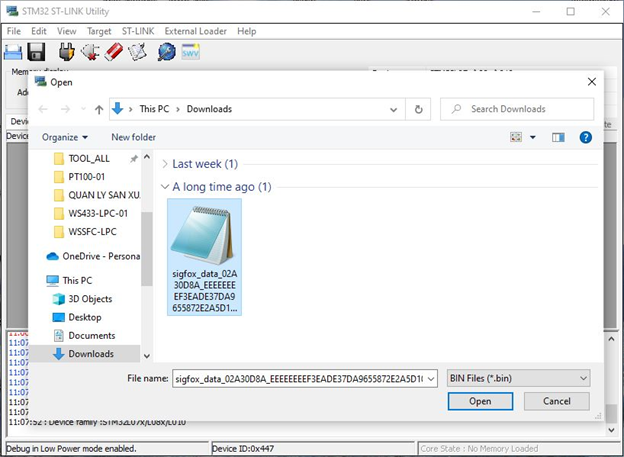

Figure 7. Loading ID&PAC
When the firmware is successfully loaded, the software will display information with image 4.
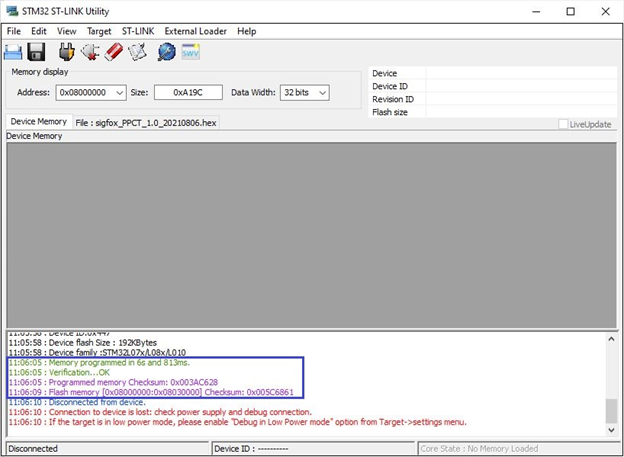
Figure 8. Successfully loading ID& PAC
No Comments