III. Offline configuration for iConnector
iConnector need to be configured properly so that it is able to connect to Globiots Server successfully;
3.1 Preparation
3.1.1 Configuration Cable
- iConnector need to be configured initially before operation, by using a configuration cable as below:
|
Item code |
Description |
|
RS485-FM12-USB-1 |
RS485/USB multi-purpose Configuration cable with connector m12 male, female and flying leads, with Power adapter 12VDC/2.0A |
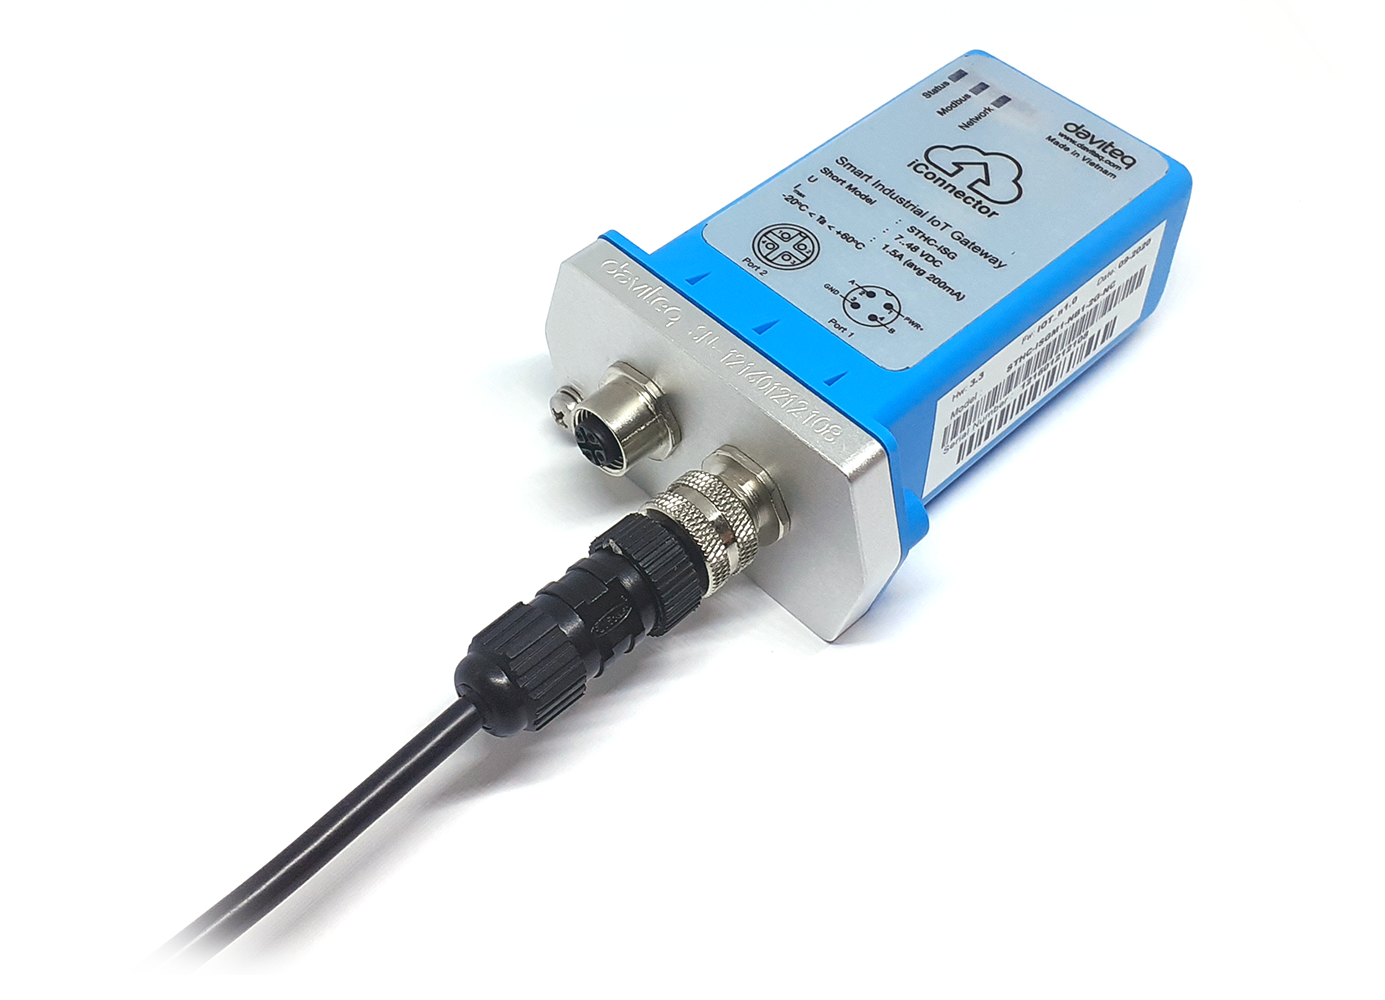
Below picture is illustration of this configuration cable.
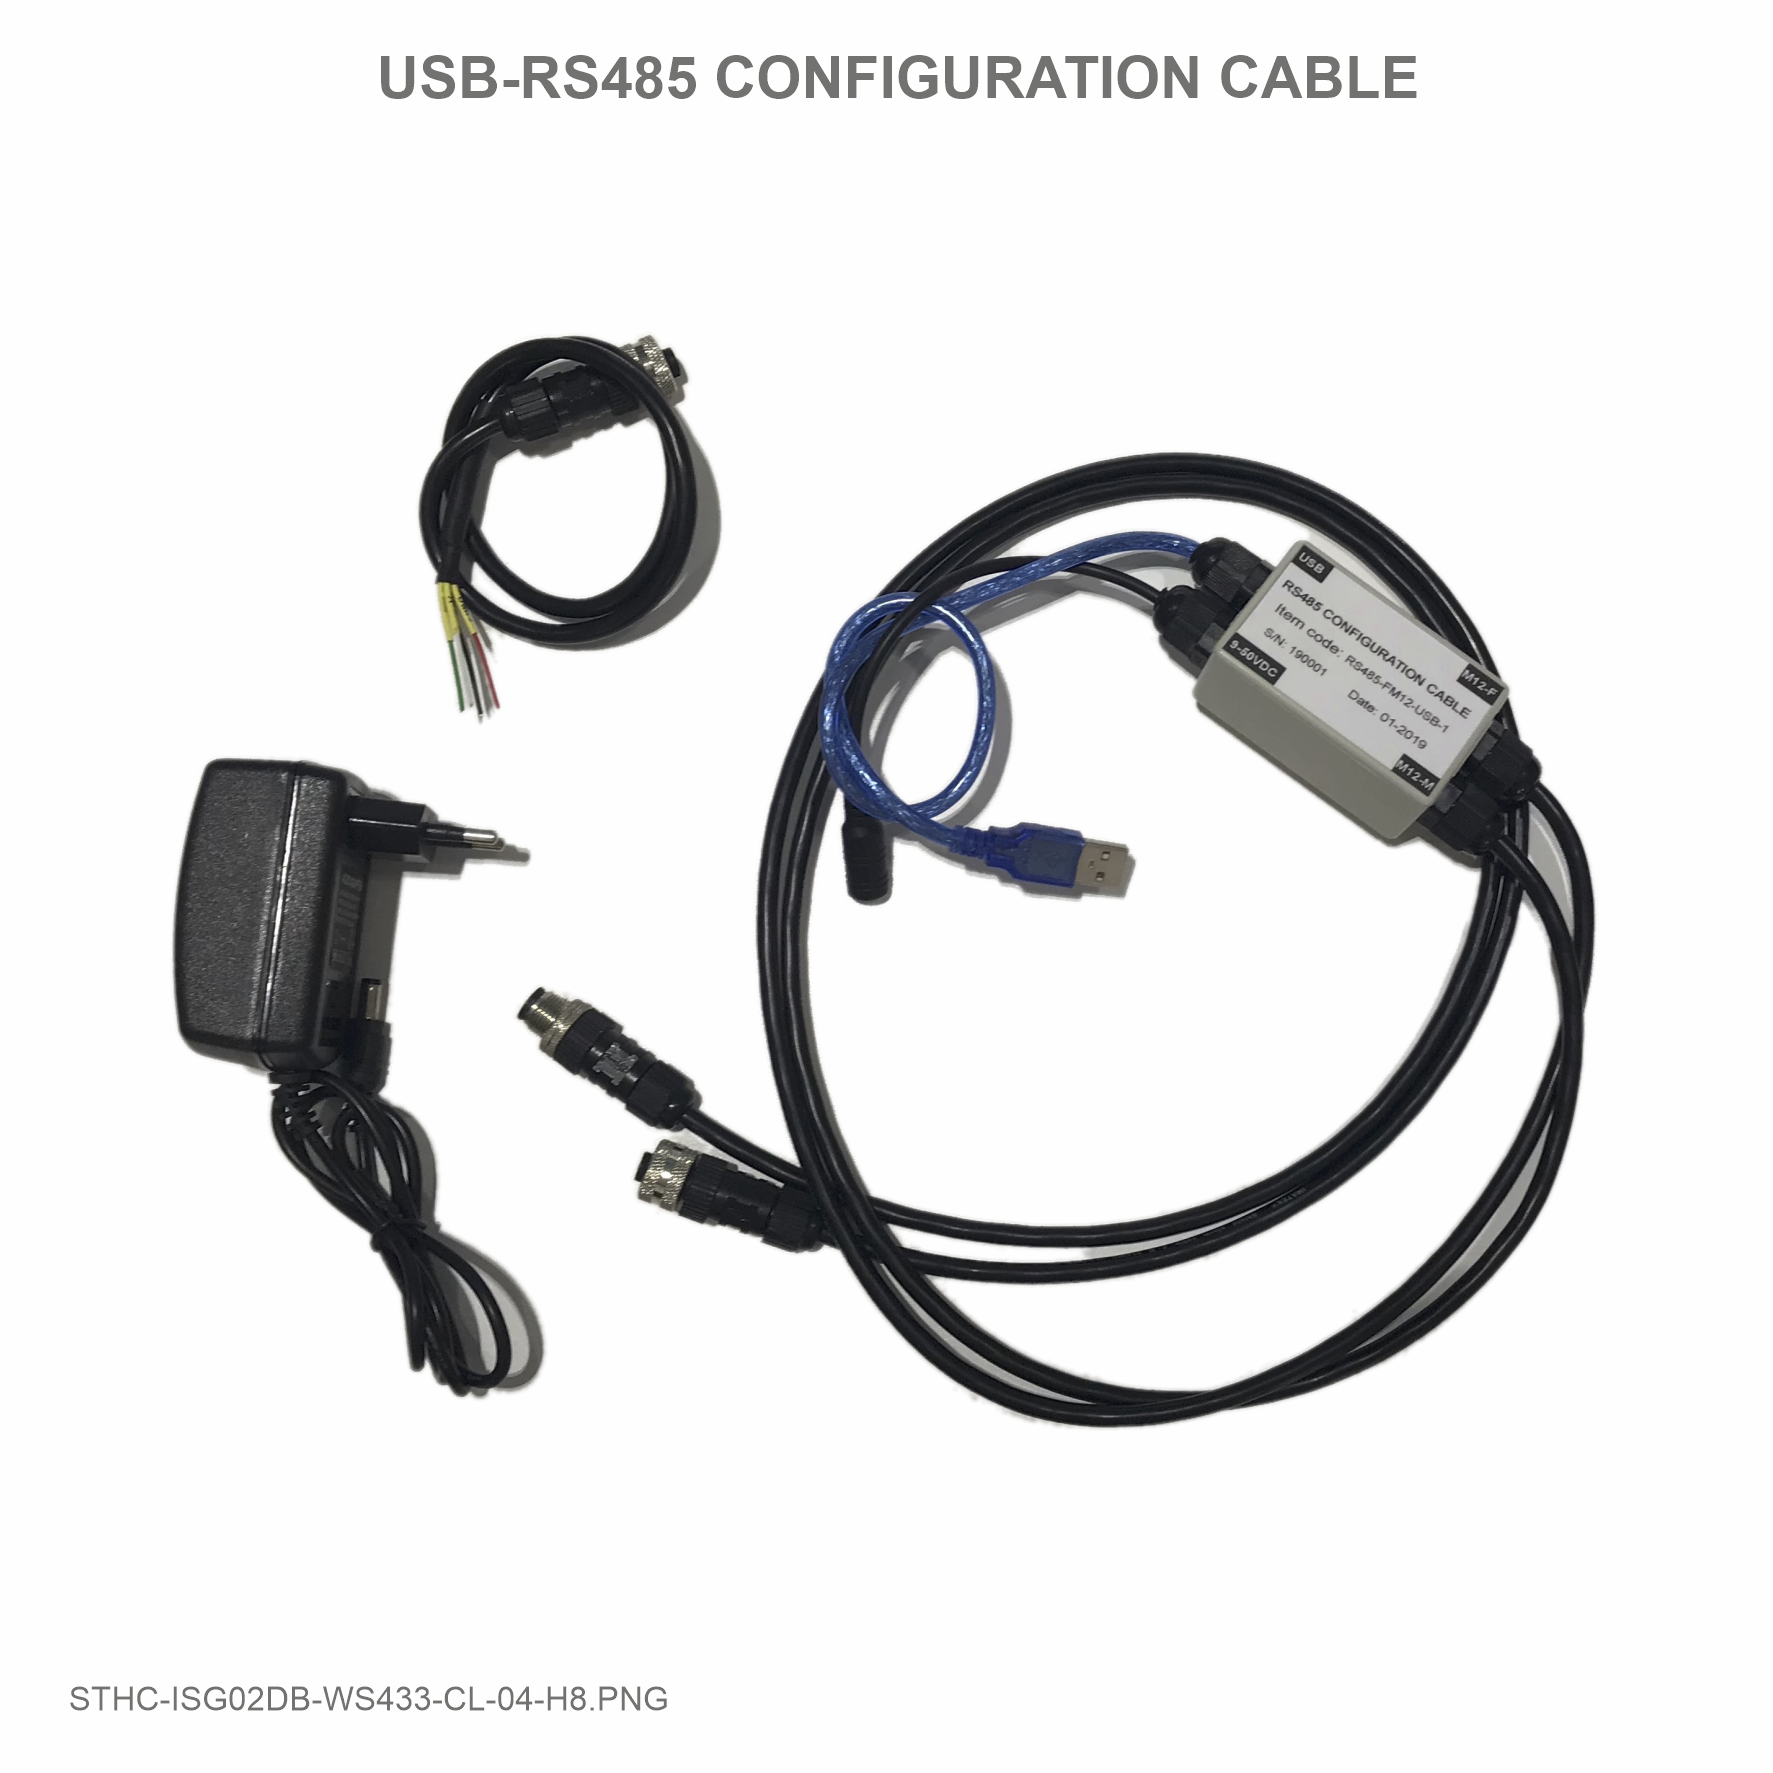
The configuration cable has 04 connectors:
* 1st-connector is M12-F connector with 4 pin inside (A, B, PWR & GND): to connect the RS485 port of iConnector;
* 2nd-connector is M12-M connector with 4 pin inside (A, B, PWR & GND): to connect to other devices with RS485 port, but its connector is M12-F;
* 3rd-connector is USB Type A plug: this is to connect to the USB port of Computer;
* 4th-connector is DC Socket 5.5 mm for Powering the converter circuit and iConnector or other device connected to this tool. This DC jack will be plugged by the plug of AC Power adapter. AC power adapter can be 12V/2A or 24VDC/1A;
* There is a flying lead with Connector M12 to allow customer connect to other device with RS485 port but no M12 connector, like IO Module (SKU# STHM-)....
3.1.2 Offline Configuration Software:
- To configure the iConnector, there is a Software run on Windows OS (Window 10 is recommended);
- Please download the software at link below: https://filerun.daviteq.com/wl/?id=lNjzZbDo7Jwyr1x8DAD3x620tNK5u8lF
Any desktop or laptop computer with USB-A port and Windows 10 OS can be used with this Software
- Unzip the file, it will extract 04 files as below picture:
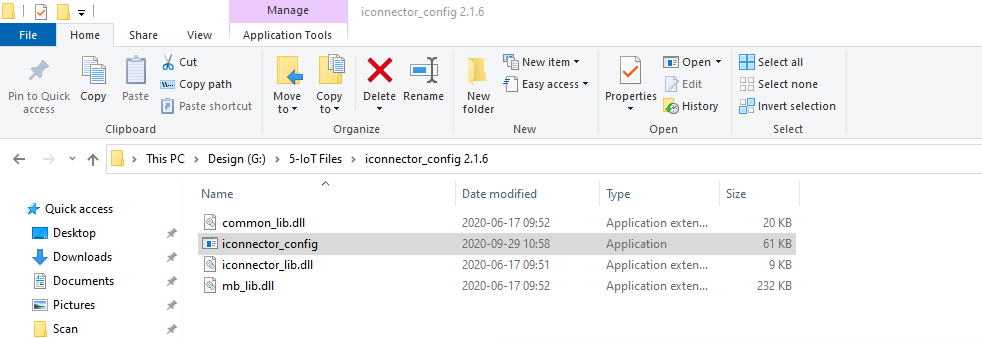
- Double-click the application file, named: iconnector_config to run the application. You will see the application as below.

There should be the COM port when you plug in the USB plug of configuration tool. If there is no, please:
* Install the COM Port driver as below instruction 3.1.3;
* After that close and open the software again.
3.1.3 Install the Driver for COM Port:
In case your computer has not got the driver, please follow these step to install the driver for Window 10:
After install the driver successfully, please close and open the software again.
3.2 Configuration Steps:
Please follow these steps:
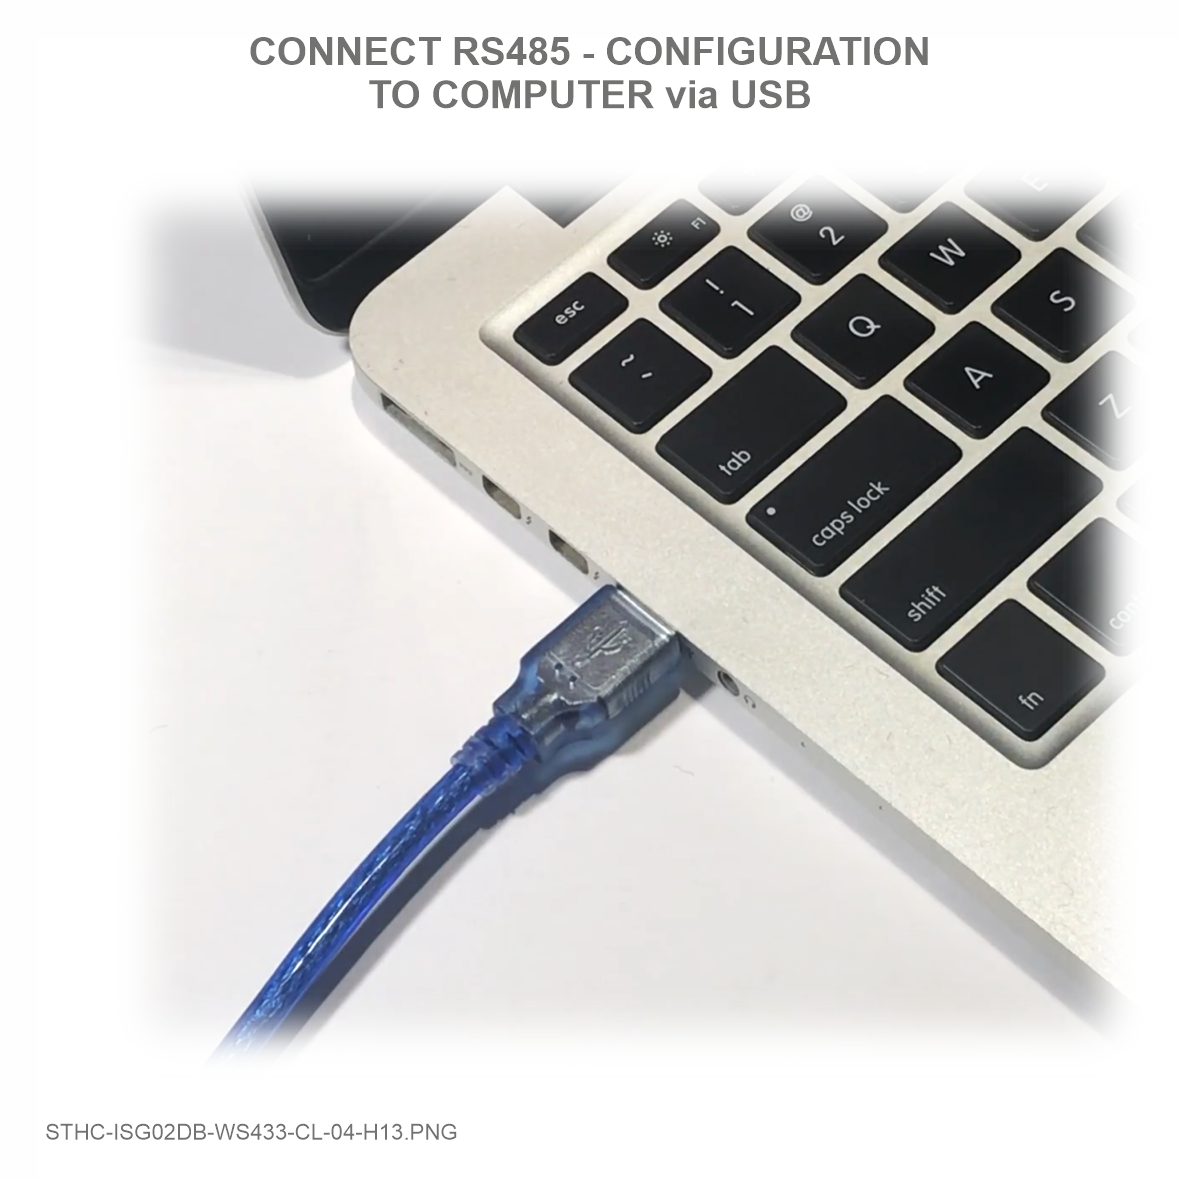
Step 1: Plug the USB
|
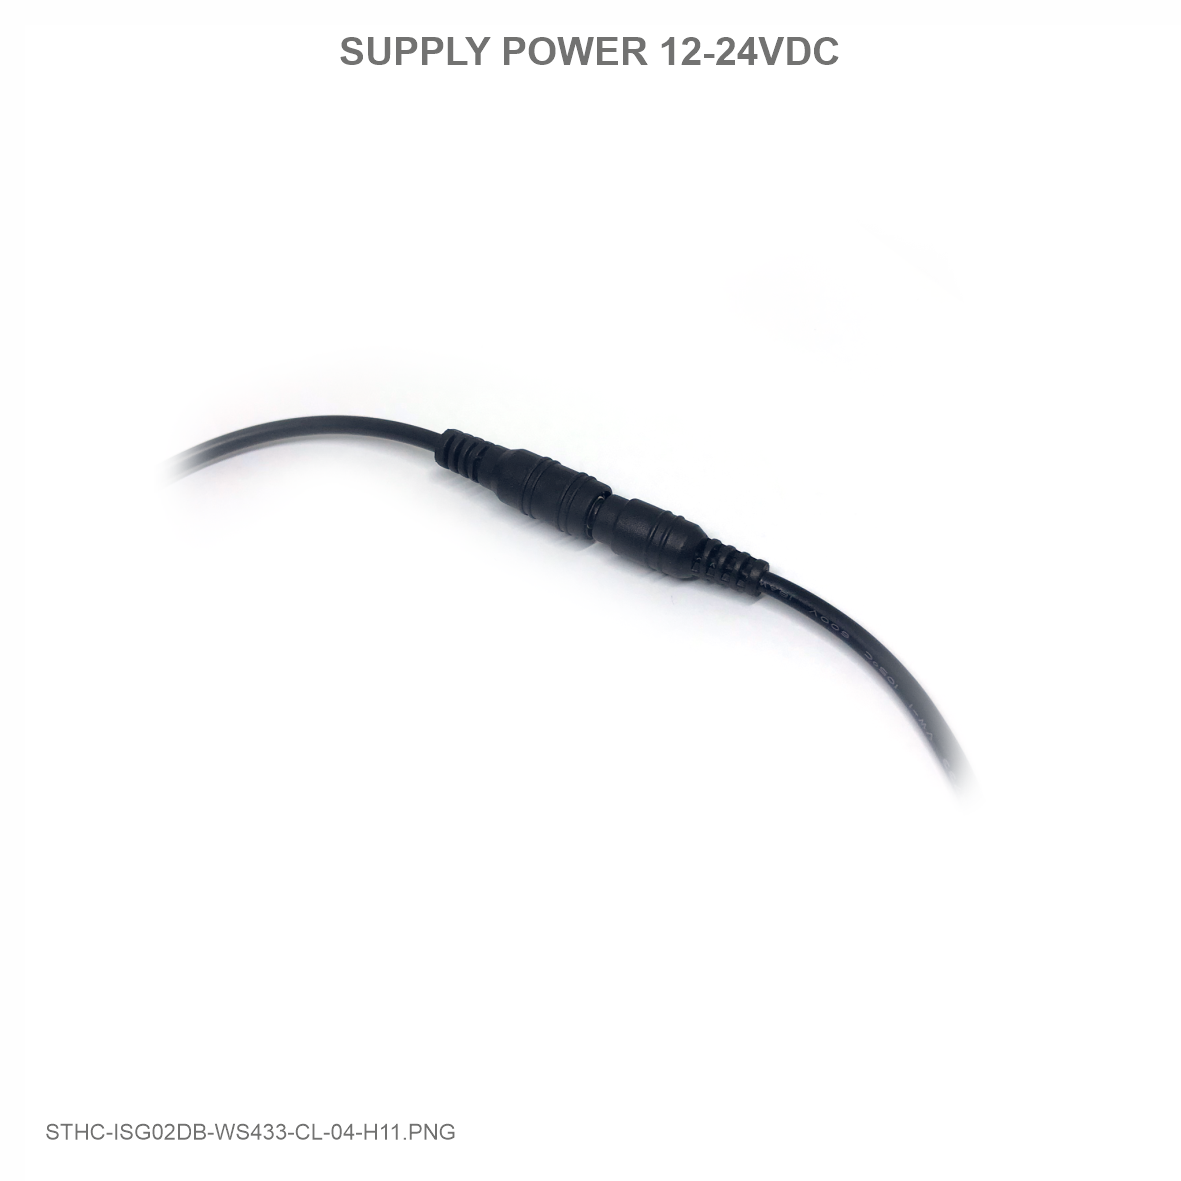
Step 2: Powering
|
Step 3: Connect to iConnector
The LED "Status" on iConnector must be turn ON, that meant it is powered!
|
|
Step 4: Select COM Port and configure it
- If there is no COM Port ==> please install the driver as above section 3.1.3
- Select the COM Port associate with the USB port you are connecting with the Configuration tool;
- Set the BaudRate: 9600, Parity: none;
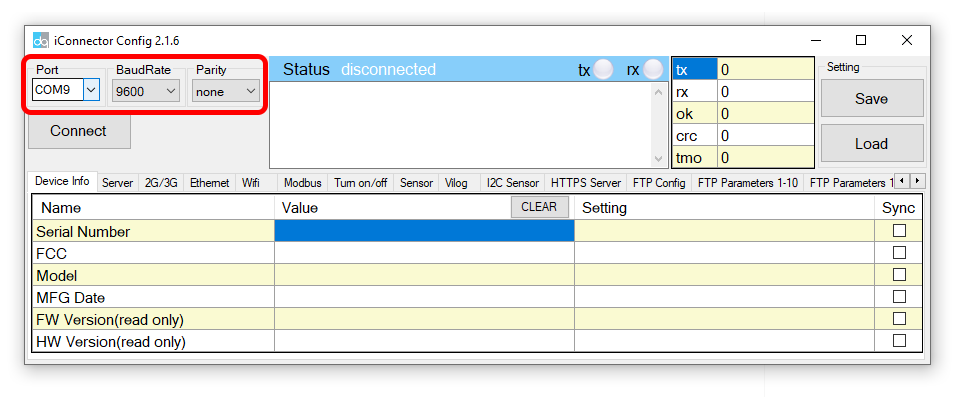
- Press button "Connect" to allow the Software connect with iConnector
- If connect successful, you will see Status shows "connected" as below picture
- If NOT, Status shows "disconnected"


3.3 Configuration parameters for iConnector
* There are many parameters of iConnector to be configured before using.
* However, most of the parameters were configured by the manufacturer.
* Customer will only need to configure some parameters like: APN, Username, password for Cellular iConnector, or other parameters.
* Please refer below sections to configure the parameter you want.
3.3.1 Configure the SIM card information for Cellular iConnector
- Cellular iConnector use the 2G, 3G or 4G connectivity to connect to IoT Server;
- It requires the Data SIM Card to be inserted into iConnector;
- Contact the Network Operator of Sim card to get the following information:
- APN:
- Username:
- Password:
- Click to the Tab 2G/3G on the Software;
3.3.1.1 How to configure the APN Name? Please follow these steps:
- Typing the APN in the Setting column, then click the check box "Sync" at that row to allow the data to be written to iConnector. Once written successfully, you will see the same data on the "Value" Column;
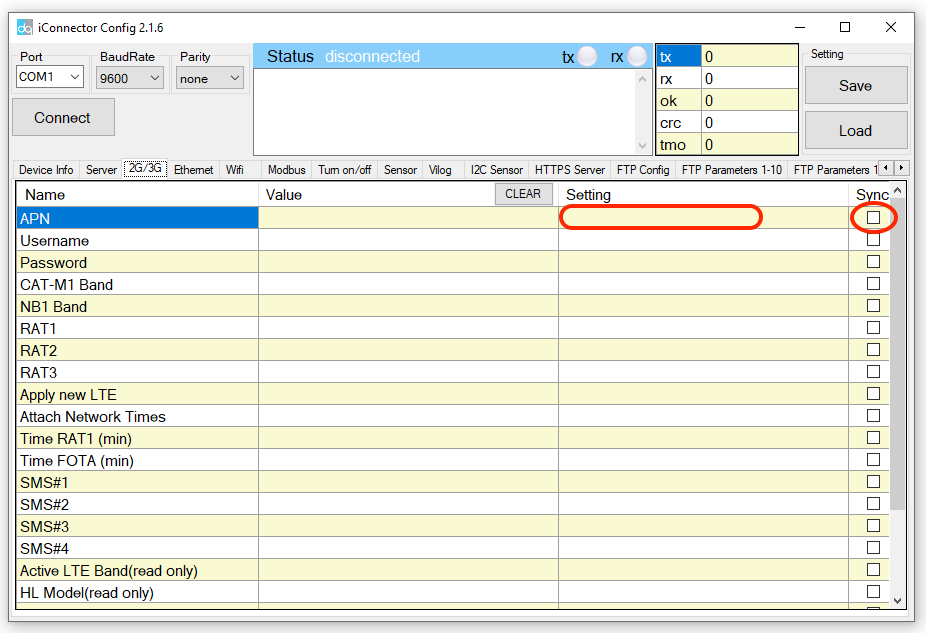
- If the data on Value column is different from the data on Setting column, that meant the data has not been written successfully to iConnector. Please check again:
- The connection from iConnector and Software is still connected or not?
- Then click the box "Sync" again.
Repeat these steps to configure other parameters: User name and Password.
3.3.1.2 How to check the iConnector was configured successfully and connected to Globiots Server?
- After configure successfully the SIM card information, the iConnector will connect to Globiots server automatically;
- The LED Network will be turn ON;
- Using the provided account of Globiots server, log in to the Globiots system to check the status of iConnector;
+ If connected, the icon will be Blue color;
+ If not connected, the icon is still Grey color; - If waiting for 5-10 minutes, the iConnector is still not connecting to Globiots server, please check the followings:
+ SIM card is contract with data plan?
+ The Network operator support the Frequency bands of iConnector? Please check the frequency band of iConnector in this link:
+ Make sure information APN, Username and Password is all correct?
+ Make sure the configuration is all correct with these values? Please check carefully each leter, a space letter at the end can cause the problem!
=====END=====
No Comments