III. ADVANCE GUIDE
3.1 Operation Principle
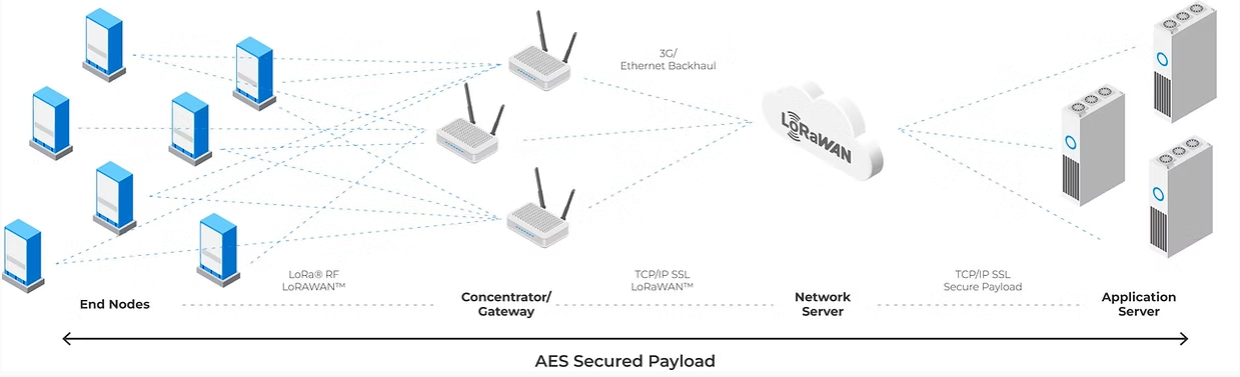
A LoRaWAN gateway functions as a transparent bridge between LoRa end devices and the LoRaWAN network server. It receives uplink packets from end devices via LoRa radio signals and forwards them to the network server over an IP-based backhaul (e.g., Ethernet, Wi-Fi, or cellular).
The gateway also receives downlink messages from the network server and transmits them to the appropriate end devices. It does not process or modify the payload data, ensuring secure and efficient communication between devices and the server.
3.2 Firmware update
3.2.1 Preparation
- Prepare a Windows PC.
- Prepare a USB-C cable for connecting the PC and the gateway.
- Download and unzip the firmware file
3.2.2 Download and Install Software
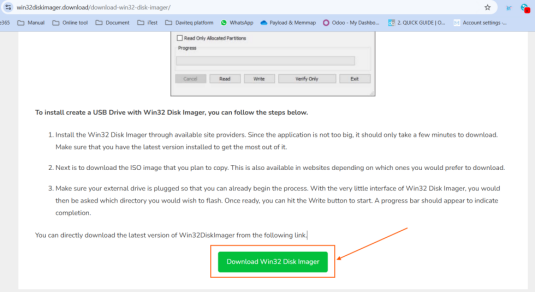
Download & Install Win32DiskImage from the link
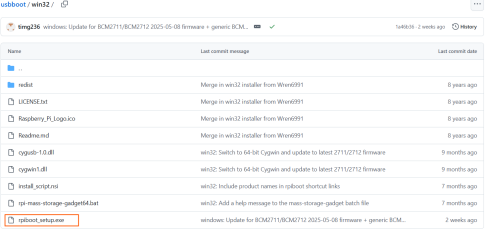
Download & Install Raspberry USB Boot
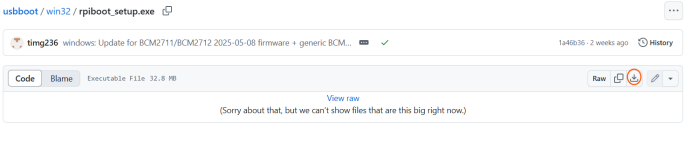
Visit the link and download rpiboot_setup.exe. Then, install Raspberry USB Boot in the PC
 3.2.3 Flashing Firmware to PineX Gateway
Step 1: Make sure the gateway is completely powered off (all three LEDs are off).Use a screwdriver to remove the three screws and open the gateway cover. Then, remove the plastic cover to access the USB-C port.
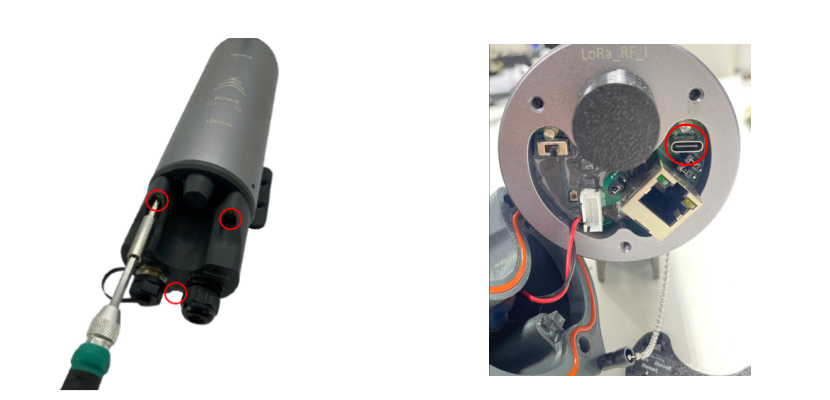
Step 2: Change the switch mode from Run to Boost as shown in the picture.

Step 3: Power on the gateway and wait for about 15 seconds. Then, connect the gateway to the PC via the USB-C cable.

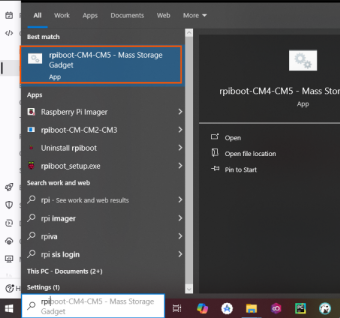
Step 4: Open rpiboot-CM4-CM5-Mass Storage Gadget.
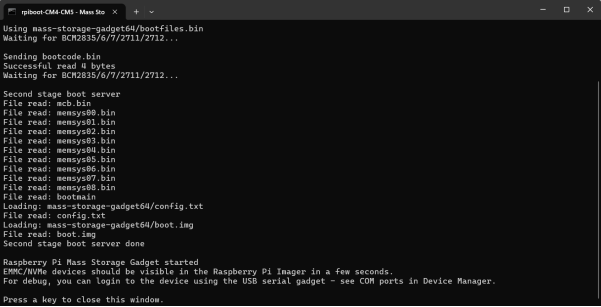
Open This PC on the PC and check whether a new drive named "bootfs" appears.
If "bootfs" appears as shown in the image below, the connection is successful.
If "bootfs" does not appear, go back and repeat the process from Step 1.
Take note of the drive letter assigned to "bootfs" — for example, Drive E:

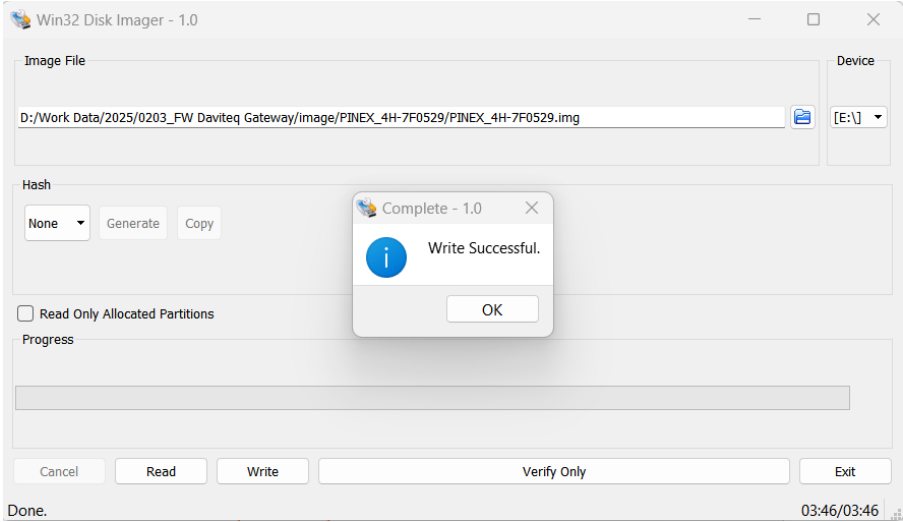
Step 5: Open Win32DiskImage software. Browse to the firmware file and select correct Device (the drive letter assigned to "bootfs" in step 4). Then click the Write button to flash the firmware to the gateway.
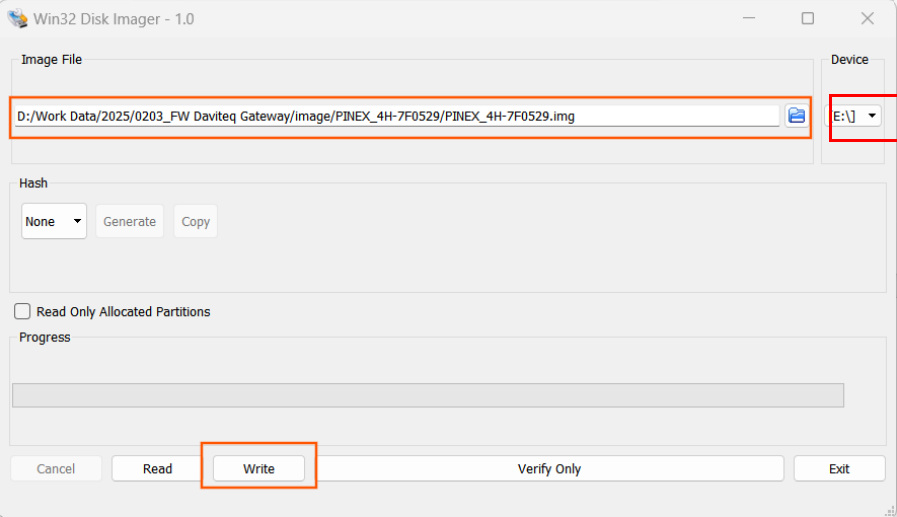
Wait a few minutes until a "Write successful" message is displayed. This means the firmware flashing process has completed successfully.
3.3 Connect directly from window PC to gateway through ethernet cable for configuration
3.3.1 PREPARATION
Hareware
- A Daviteq gateway
- A window laptop
- A USB-to-LAN adapter ( if the laptop does not have ethernet port)
- A traight ethernet cable
Software
Download and Install Tftdp64 software (attached file)
3.3.2 DETAILED INSTRUCTIONS
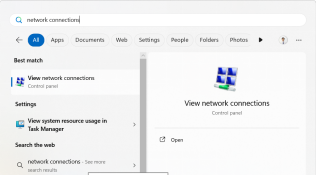
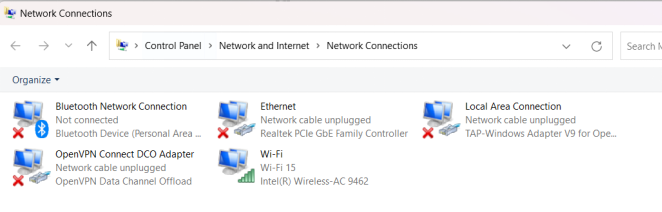
Step 1: Type “Network Connections” in the search bar, then select “View network connections.”
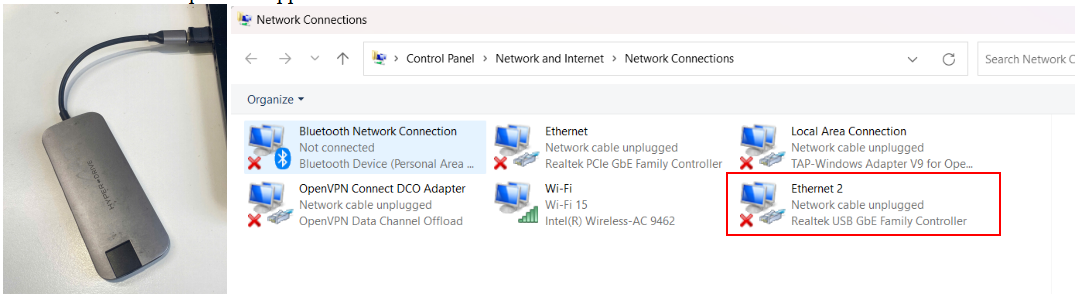
Step 2: Plug the USB-to-LAN adapter into the laptop. Wait for a few seconds, and the Ethernet connection of the adapter will appear.
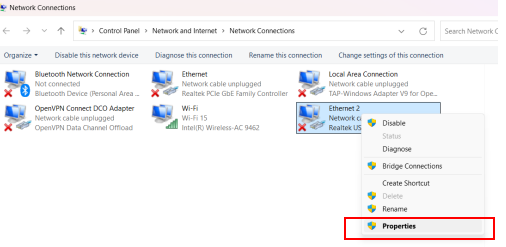
Step 3: Right click the Ethernet connection of the adapter, then select Properties
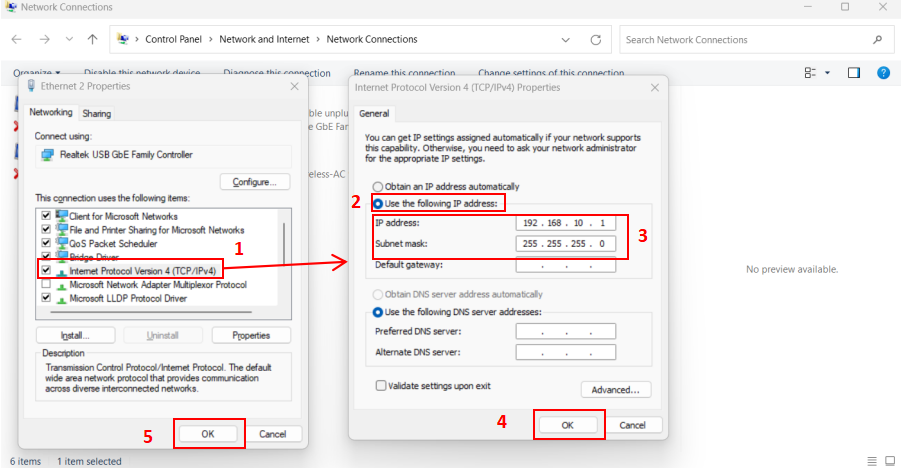
Step 4: In the Networking tab, select Internet Protocol Version 4(TCP/IPv4).
Then, select Use the following IP address and input the imformation as shown in the picture below
IP address : 192.168.10.1
Subnet mask: 255.255.255.0
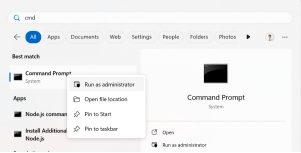
Step 5: Run Command Prompt as administrator
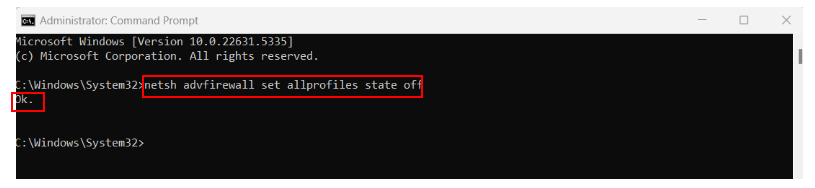
Copy and paste command below to the Command Promt to temporarily turn off the Firewall
netsh advfirewall set allprofiles state off
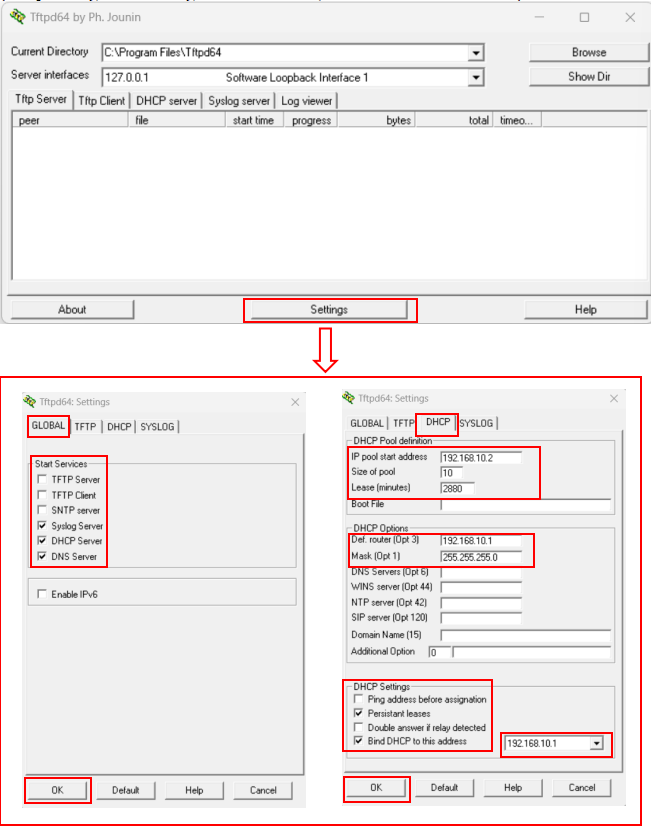
Step 6: Open the Tftpd64 Software, click the Settings button, then configure it as shown in the pictures below. After that, click OK to save the new settings.
(Only change the settings in the red box, leave the rest as default)
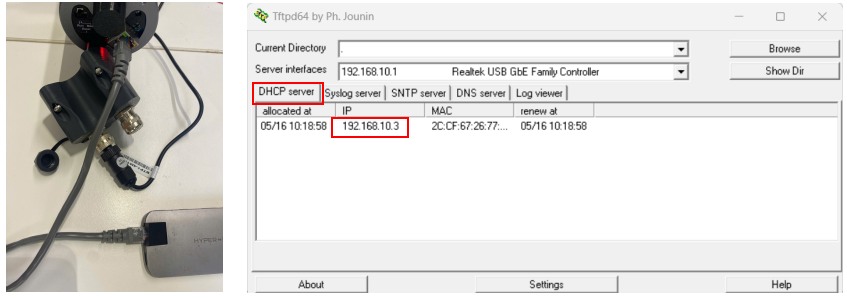
Step 7: Power on the gateway, then connect the Ethernet cabble from the gateway to the laptop through the adapter. Wait for a few seconds, the IP address of the gateway will be displayed in DHCP server tab of the Tftpd64 software
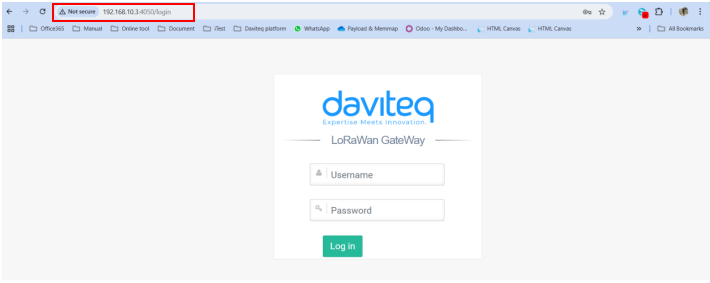
Step 8: Access the gateway’s GUI via the IP address and port 4050 (e.g., 192.168.10.3:4050).
If the web browser displays as shown in the image below, it means you have successfully accessed the gateway. Next, refer to the user guide to configure the Wi-Fi and the LoRaWAN Package Forwarder for the gateway.
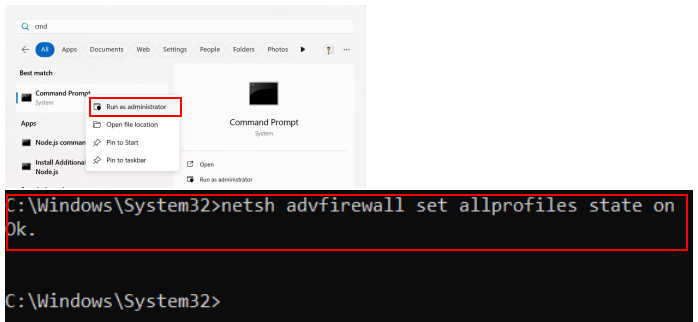
Step 9:After finishing the configuration, please turn the firewall back on for your computer.
Run Command Prompt as administrator, then copy and paste the command below to the Command Promt
netsh advfirewall set allprofiles state on
No Comments